This article will quickly guide you about how to install Jenkins. Here in this article we are installing Jenkins on AWS platform. We will be using Amazon Linux AMI for the same.
Prerequisites to install Jenkins:
Here we need already running EC2 Instance having Internet Access and Security Group with Port 8080 open for internet in order to install Jenkins and access the Jenkins url after installation.
Steps for Jenkins installation:
-
Install java:
In our demo we are installing java version java 1.8.
[root@jenkins ~]# yum install java-1.8*
-
Recheck the java version
[root@jenkins ~]# java -version
openjdk version "1.8.0_242"
OpenJDK Runtime Environment (build 1.8.0_242-b08)
OpenJDK 64-Bit Server VM (build 25.242-b08, mixed mode)
[root@jenkins ~]#
-
Check the location of the java libraries.
We will be using the same for setting up the JAVA_HOME variable.
[root@jenkins ~]# find /usr/lib/jvm/java-1.8* | head -n 3
/usr/lib/jvm/java-1.8.0
/usr/lib/jvm/java-1.8.0-openjdk
/usr/lib/jvm/java-1.8.0-openjdk-1.8.0.242.b08-0.amzn2.0.1.x86_64
-
Set the JAVA_HOME variable and export it.
[root@jenkins ~]# JAVA_HOME=/usr/lib/jvm/java-1.8.0-openjdk-1.8.0.212.b04-1.el8_0.x86_64
[root@jenkins ~]# export JAVA_HOME
[root@jenkins ~]# PATH=$PATH:$JAVA_HOME
In order to add it permanently you need to add into bash_profile file. Just do vi ~/.bash_profile add above piece of code.
-
Finally install it.
Get the latest version of jenkins from URL https://pkg.jenkins.io/redhat-stable/ and install it.
yum -y install wget
sudo wget -O /etc/yum.repos.d/jenkins.repo https://pkg.jenkins.io/redhat-stable/jenkins.repo
sudo rpm --import https://pkg.jenkins.io/redhat-stable/jenkins.io.key
yum -y install jenkins
-
Once you done with Jenkins installation , Start it and set auto-start during boot.
[root@jenkins ~]# service jenkins start
Starting jenkins (via systemctl):                          [  OK  ]
[root@jenkins ~]# chkconfig jenkins on
[root@jenkins ~]#
-
Access the Jenkins.
By default Jenkins runs on port 8080. So in order to access the Jenkins URL use following format for accessing it using your browser.
http://<YOUR-SERVER-PUBLIC-IP>:8080
Here just replace the string “YOUR-SERVER-PUBLIC-IP” with your public ip incase your are installing it in AWS else use server ip.
Here is the screenshot of the same:
Now you need the password of the admin just cat password from the file “/var/lib/jenkins/secrets/initialAdminPassword” as below:
[root@jenkins ~]# cat /var/lib/jenkins/secrets/initialAdminPassword
1237e84d878b4d7cbc5a9a2370473d45
[root@jenkins ~]#
Copy password and paste into Admin password box and hit continue!
Here you can install default plugins if you wish to install. However I am not installing any plugin by clicking cancel button on the top.
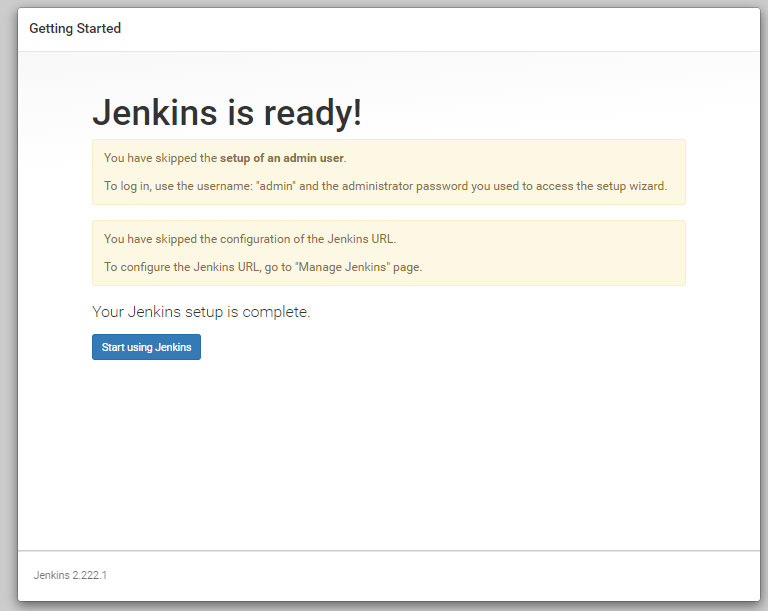
On the next screen system will ask you to start using Jenkins click on “Start using Jenkins”
And here is your jenkins server is ready for use as below:
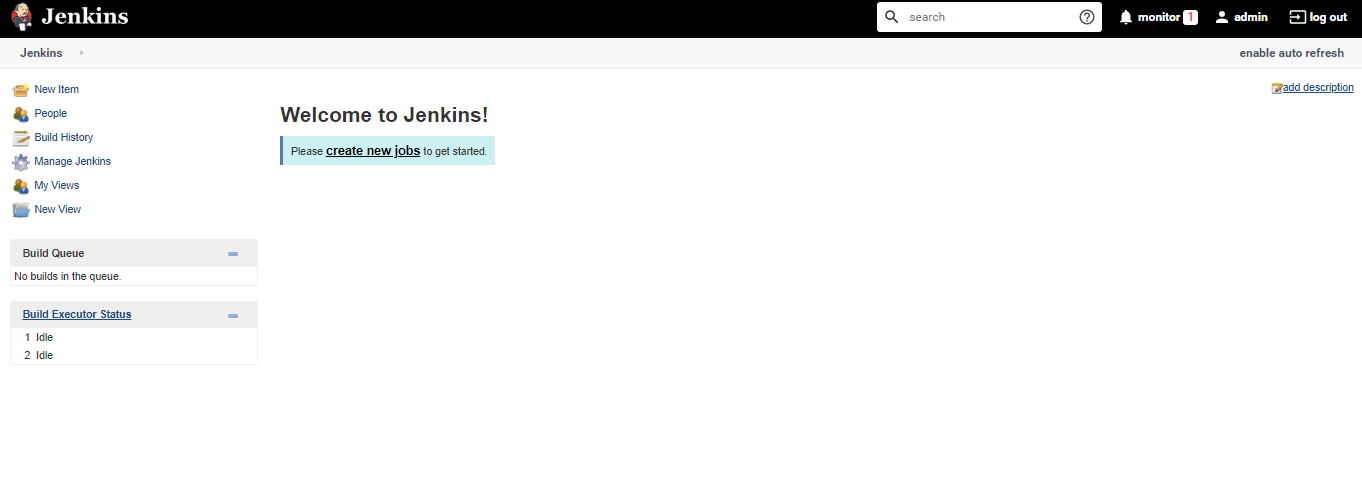
Final Testing:
Now lets test the Jenkins by executing simple Freestyle Project job. Just click on “create new jobs” or ” New Item” option on the top left side. Give it name “my_first_job” , click on “Freestyle project” and click ok.
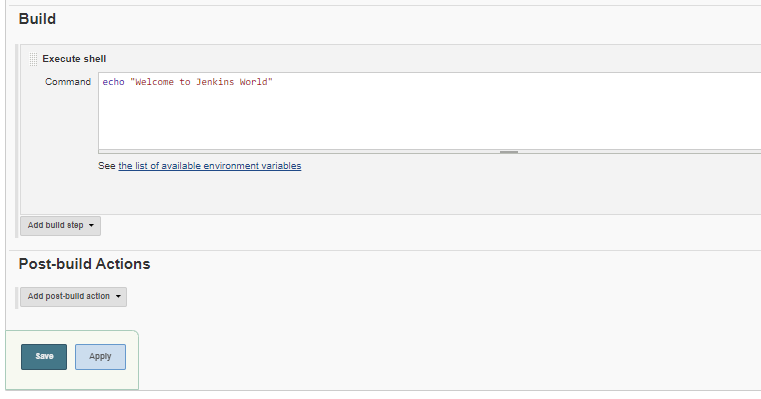
Now under “Build section” select the execute shell option as below:
In the box enter the simple echo command such as echo “Welcome to Jenkins World” as below click save.
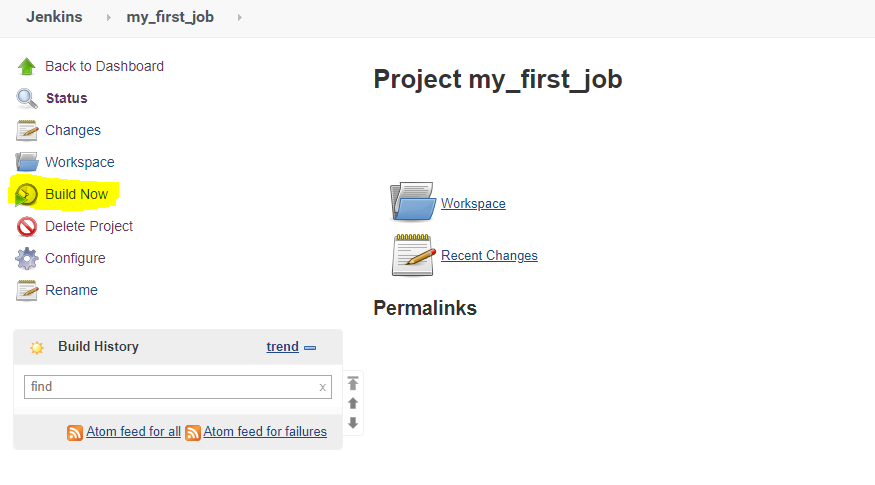
Now select build now option from left side menu to build or execute the job.
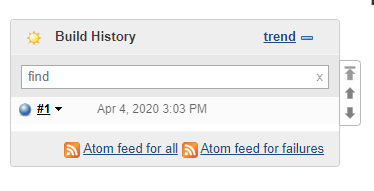
Now you will see “#1” under Build history on the left side as below. Click on it.
In next window to check the output click on ” Console Output” and you will see that , it got successfully executed and echoed output also.
That’s it you have successfully installed Jenkins and tested it with sample freestyle job!!!
View Comments (0)