In this article we are going to discuss how to configure Azure blob storage as sftp server. Knowing the fact that Azure blob is used as a massively scalable and secure object storage for cloud-native workloads. To check more details about the Azure Blob kindly check this URL.
Following are the steps we need to follow in order to configure Azure blob storage as sftp server.
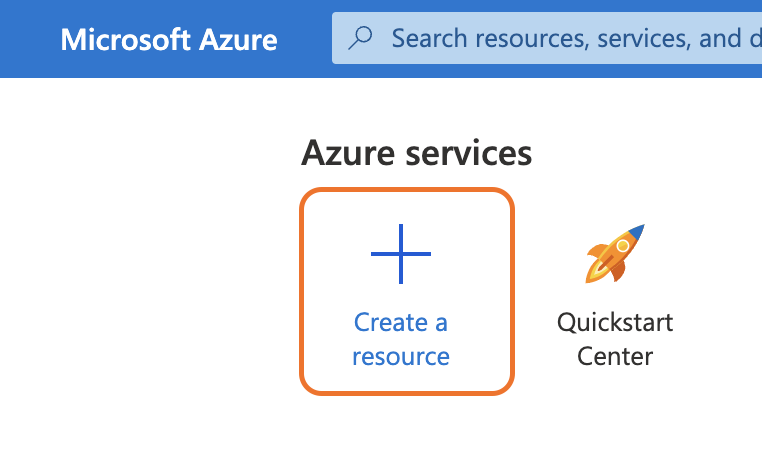
1.Create storage account:First of all you need to have the storage account. If not you can create the new storage account. To create the storage account click on the “Microsoft Azure” on the top left corner once you logged into Azure portal. Then click on the “Create a resource” (with + sign) link.
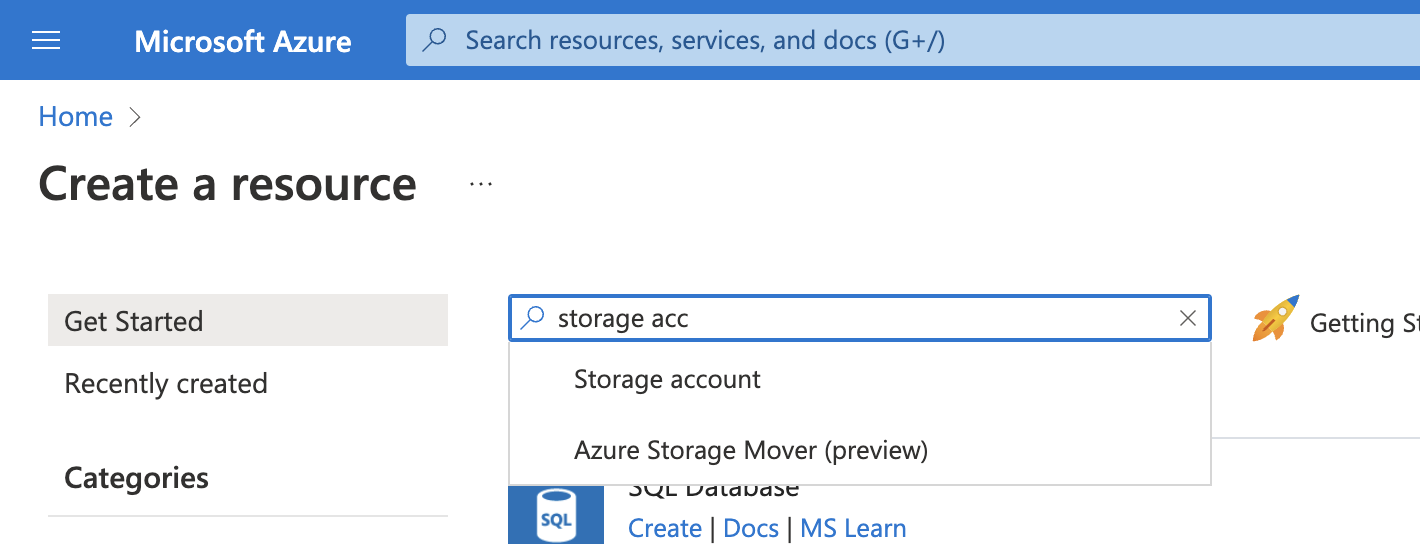
2. In the next window type “storage account” and select the Storage account option to go ahead.
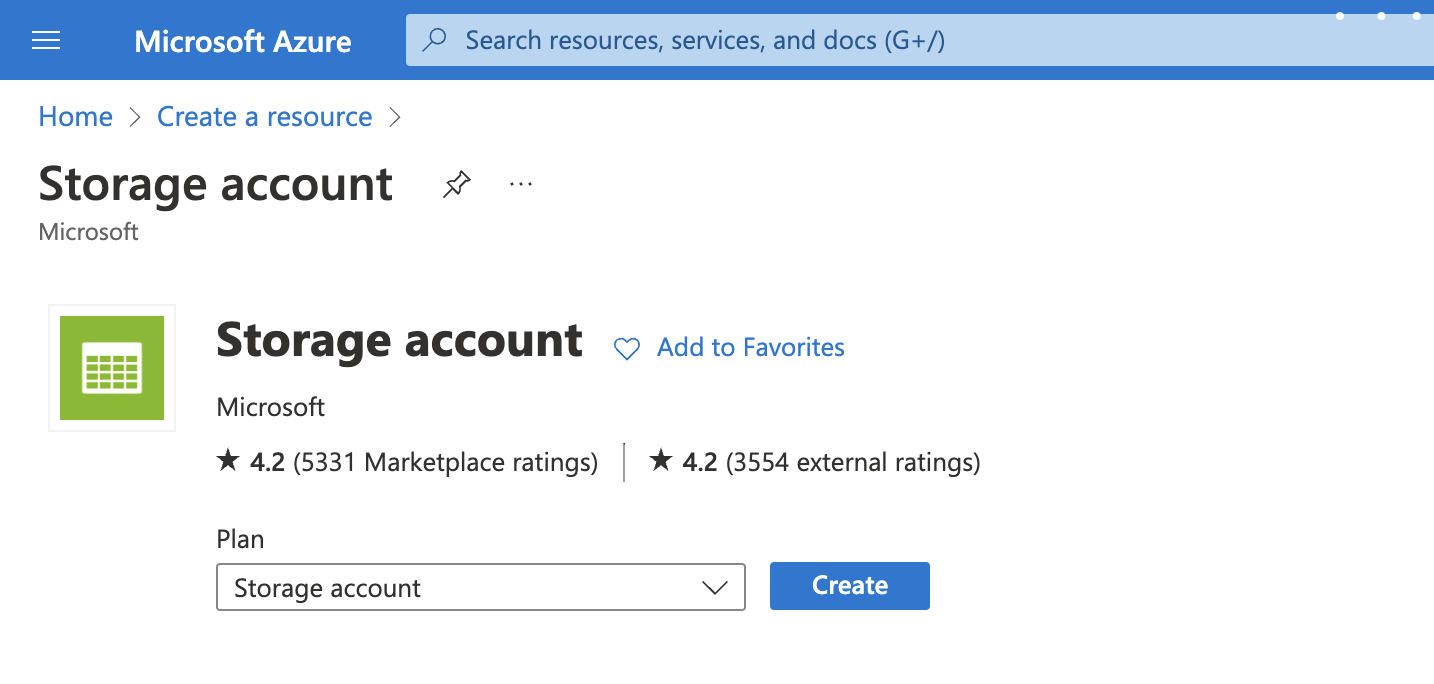
3. In the next window click on the “Create” button selecting “Storage account” option as below:
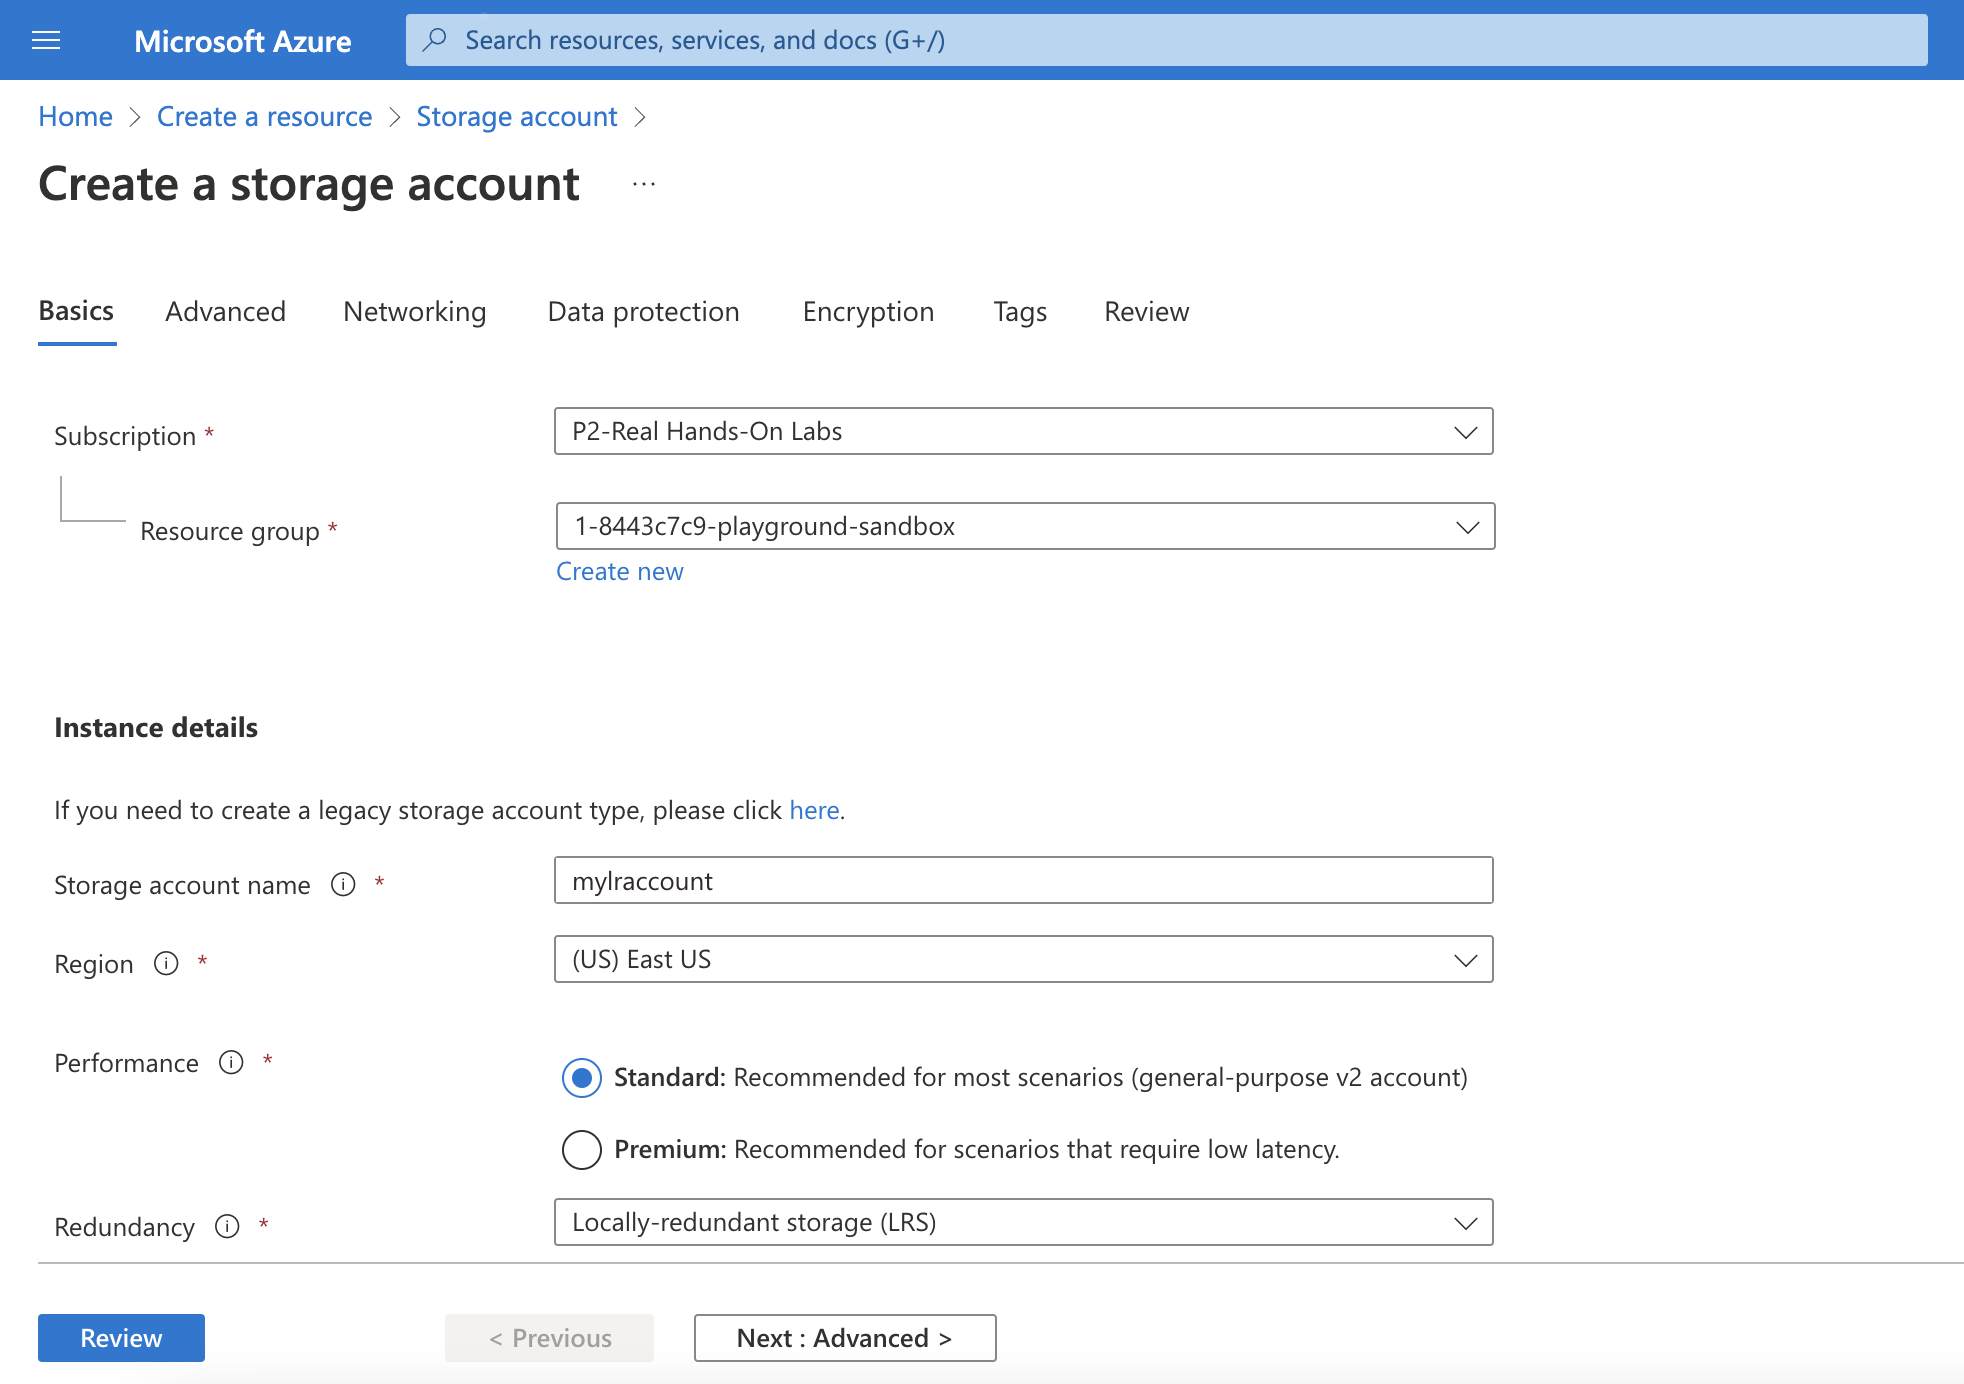
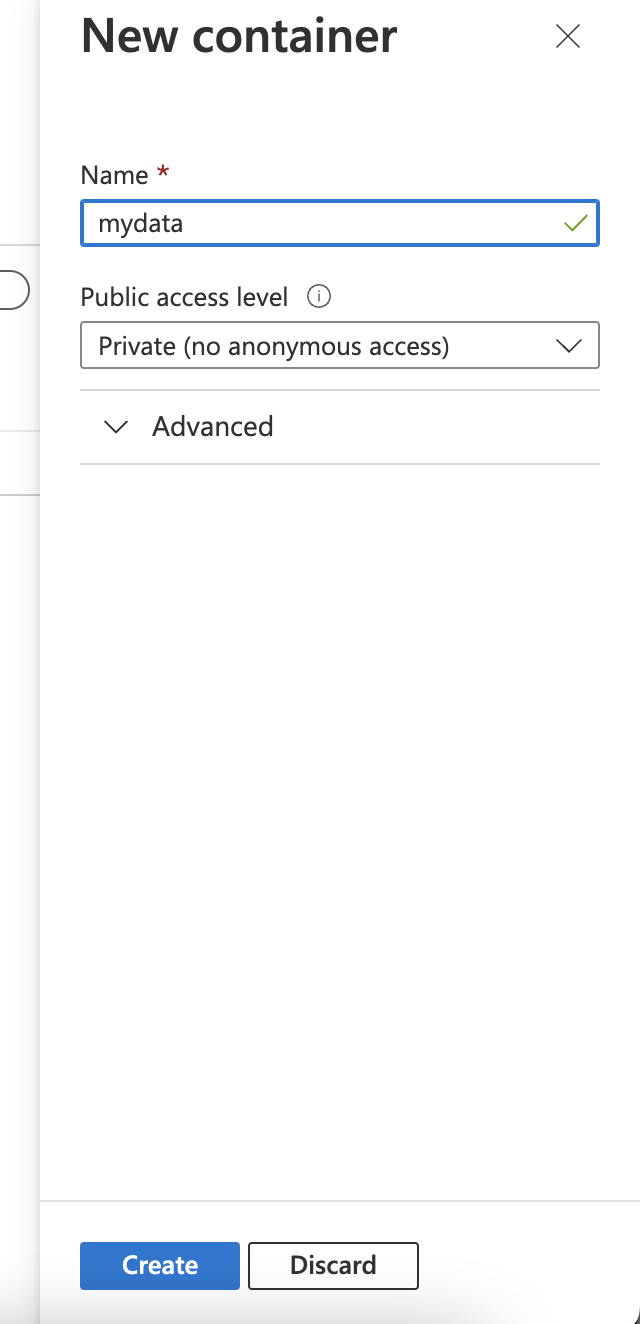
4. In the next window select “Subscription” & “Resource group” as per your azure account. Then give proper name to your storage account. In my demo I have used “mylraccount” as below in the screenshot. Also select proper region as per your requirement under region option.
5. In the Advanced tab tick mark the option “Enable hierarchical namespace” and also tick mark the “Enable SFTP” and “Enable network file system v3” Option. This selection necessary to configure Azure blob storage as sftp server.
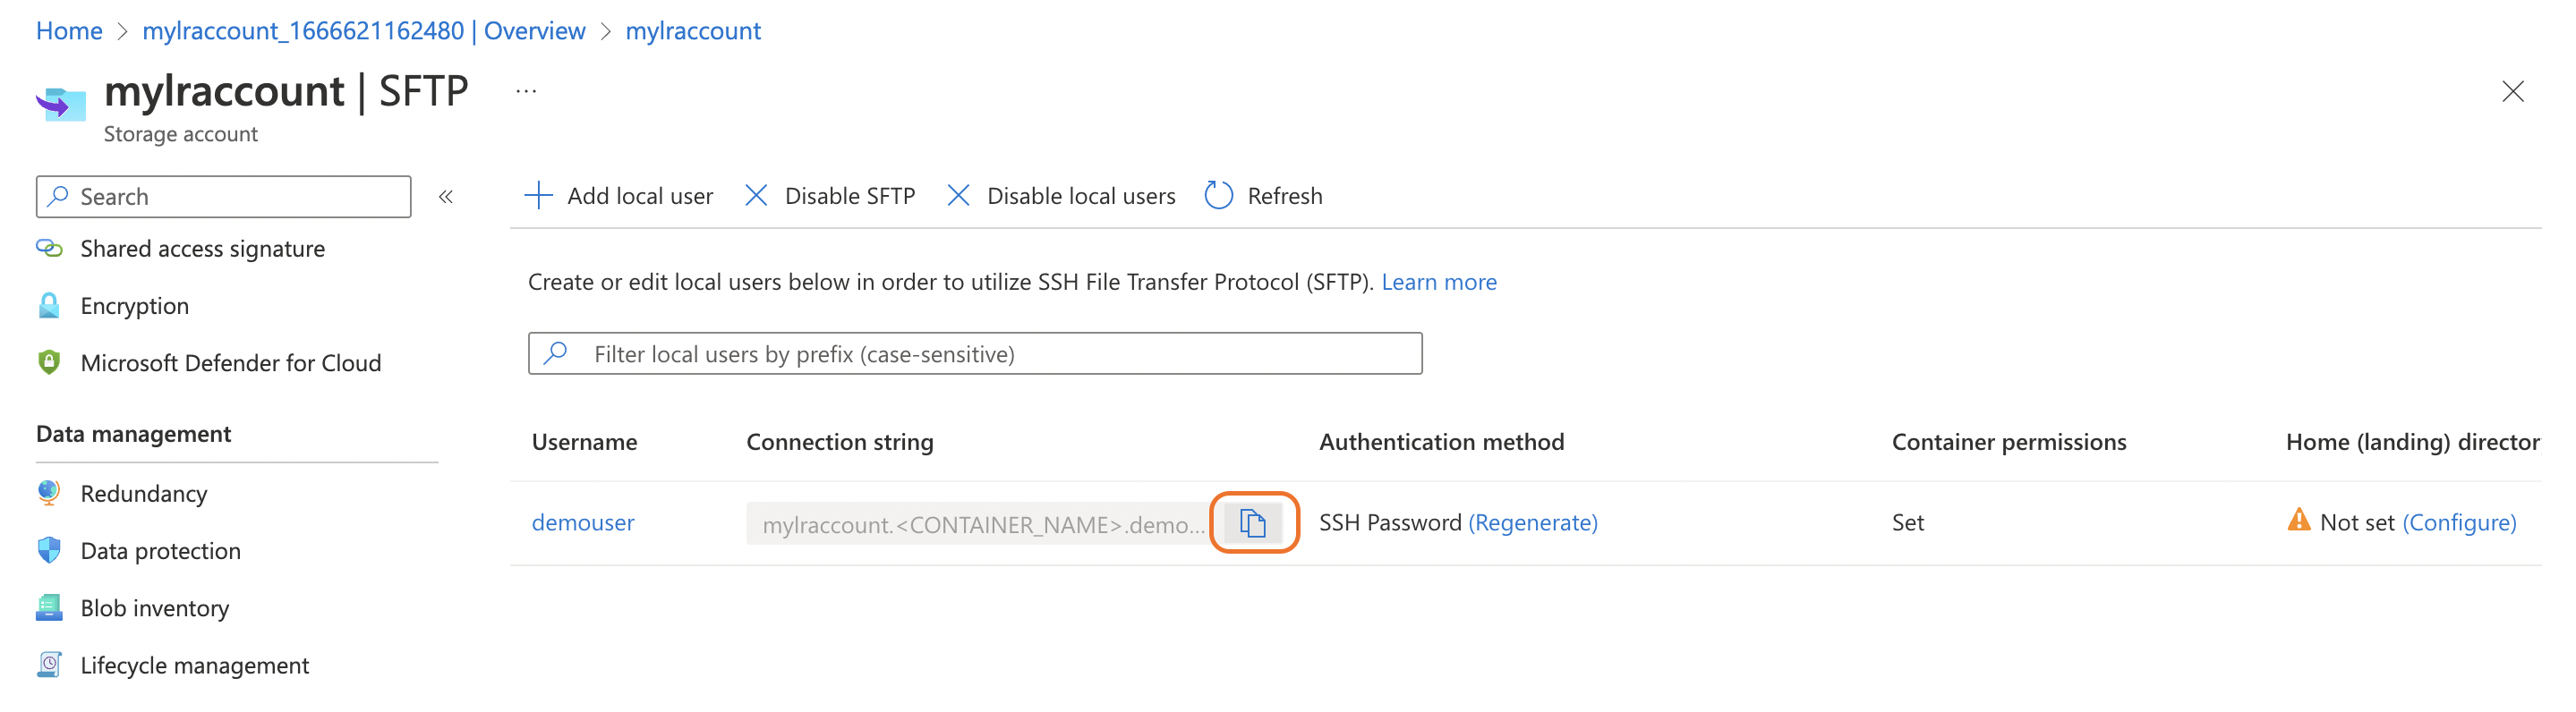
mylraccount.<CONTAINER_NAME>.demouser@mylraccount.blob.core.windows.net
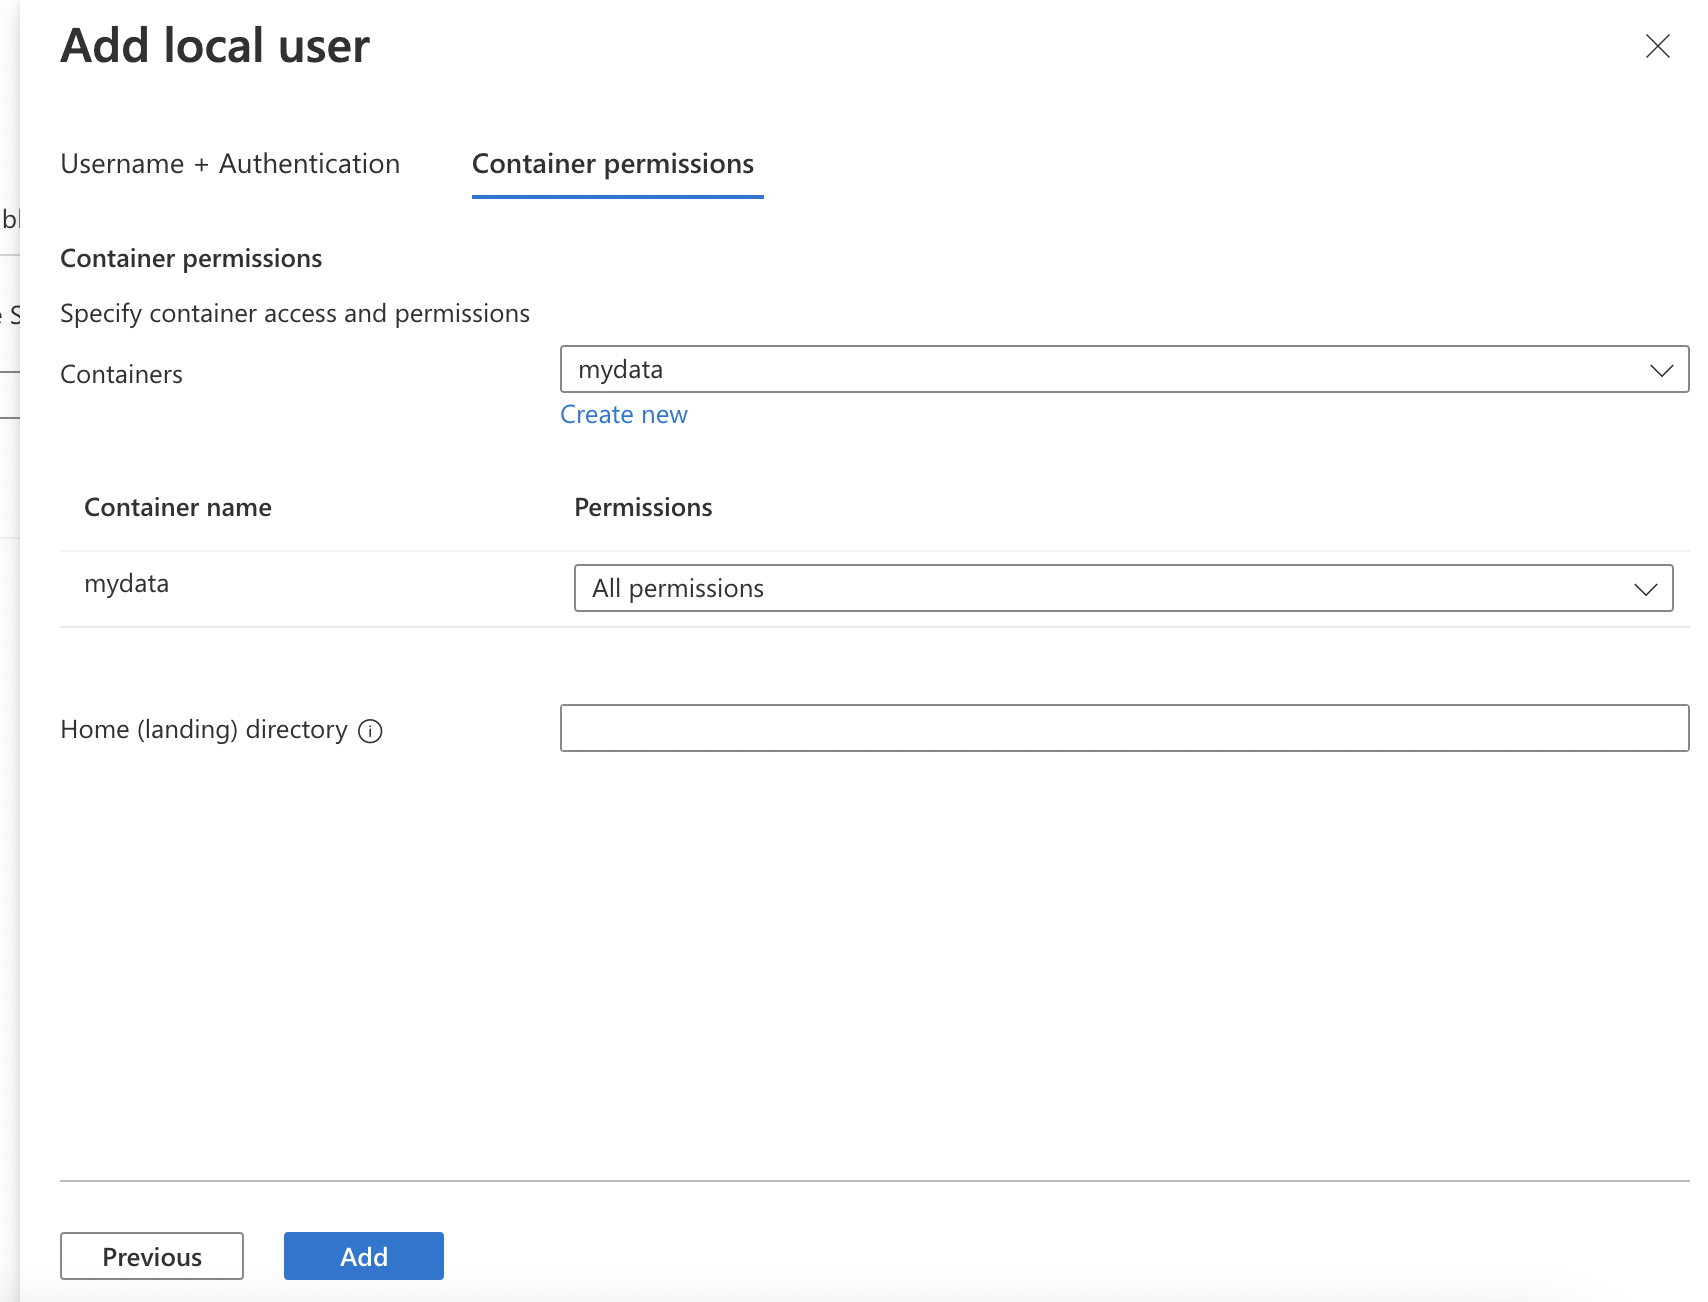
In the above string replace the “CONTAINER_NAME” with “mydata” which is our container name so our connection string will be “mylraccount.mydata.demouser@mylraccount.blob.core.windows.net”
try connect with sftp client :
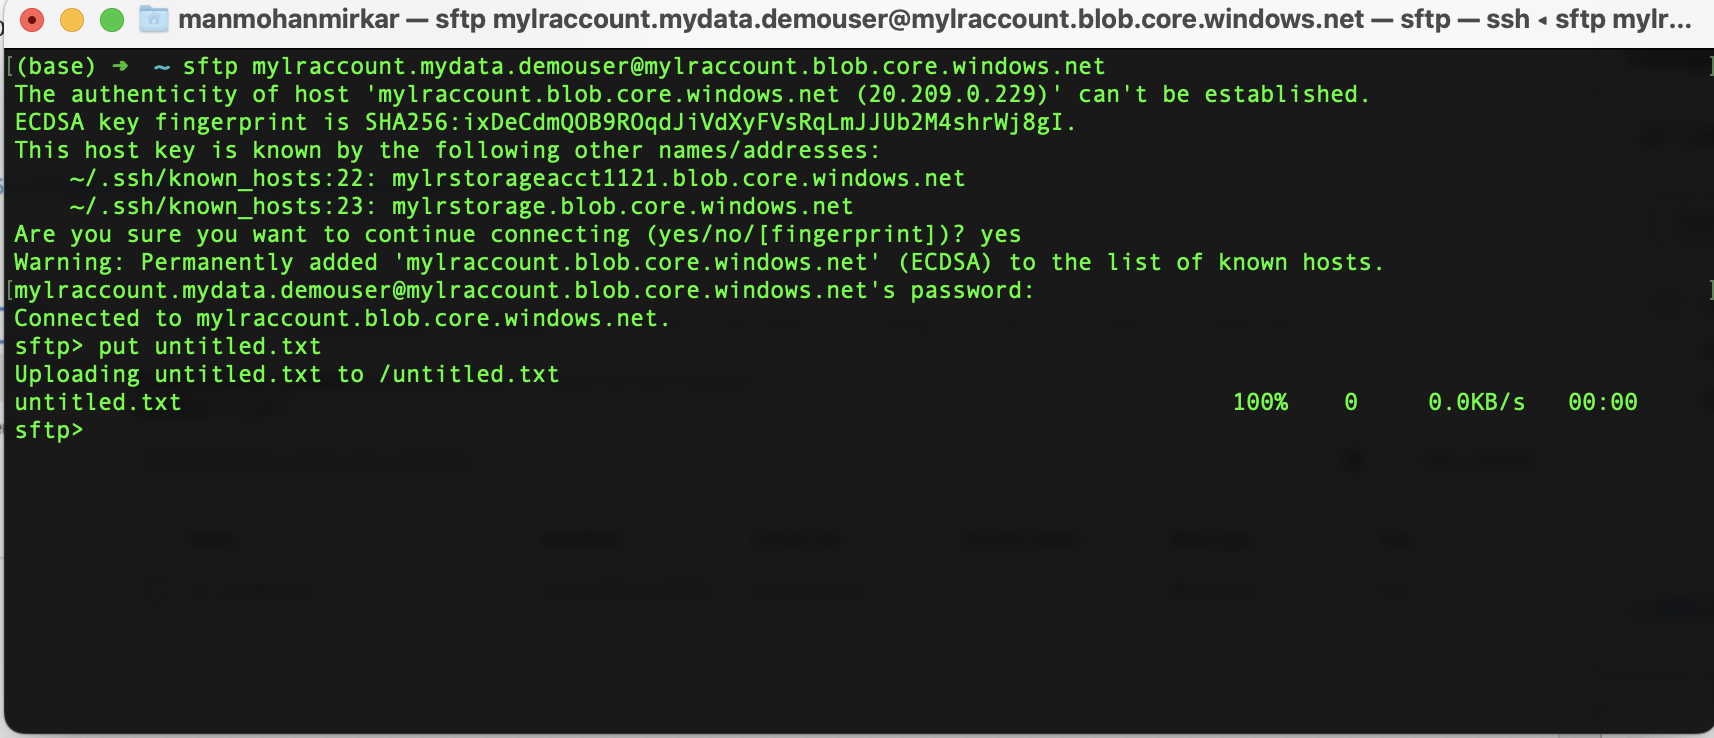
(base) ➜  ~ sftp mylraccount.mydata.demouser@mylraccount.blob.core.windows.net
The authenticity of host 'mylraccount.blob.core.windows.net (20.209.0.229)' can't be established.
ECDSA key fingerprint is SHA256:ixDeCdmQOB9ROqdJiVdXyFVsRqLmJJUb2M4shrWj8gI.
This host key is known by the following other names/addresses:
    ~/.ssh/known_hosts:22: mylrstorageacct1121.blob.core.windows.net
    ~/.ssh/known_hosts:23: mylrstorage.blob.core.windows.net
Are you sure you want to continue connecting (yes/no/[fingerprint])? yes
Warning: Permanently added 'mylraccount.blob.core.windows.net' (ECDSA) to the list of known hosts.
mylraccount.mydata.demouser@mylraccount.blob.core.windows.net's password:
Connected to mylraccount.blob.core.windows.net.
sftp>
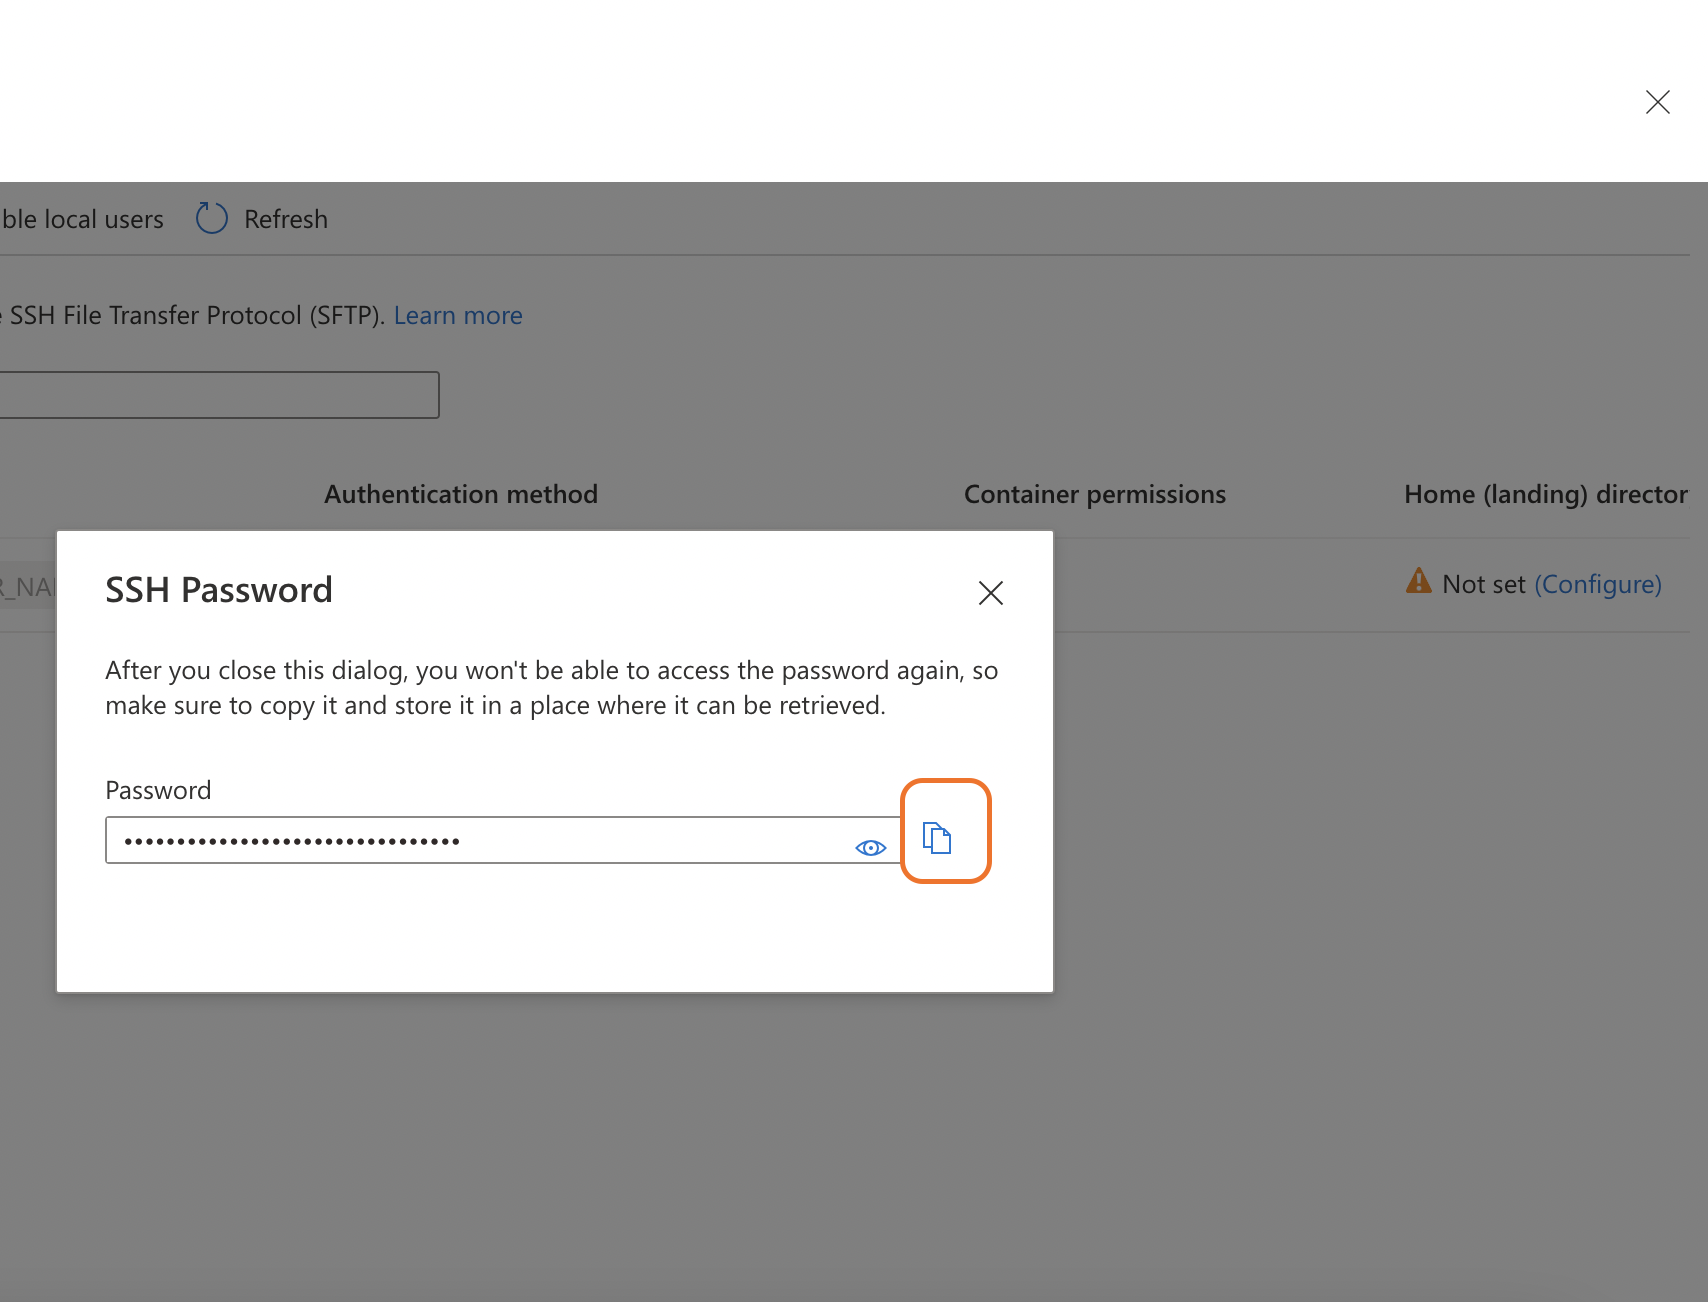
when prompted select yes for “Are you sure you want to continue connecting” and enter the password captured in the step 14. For testing i have just upload sample file named “untitled.txt“.
Connected to mylraccount.blob.core.windows.net.
sftp> put untitled.txt
Uploading untitled.txt to /untitled.txt
untitled.txt                                                                           100%    0     0.0KB/s   00:00
sftp>
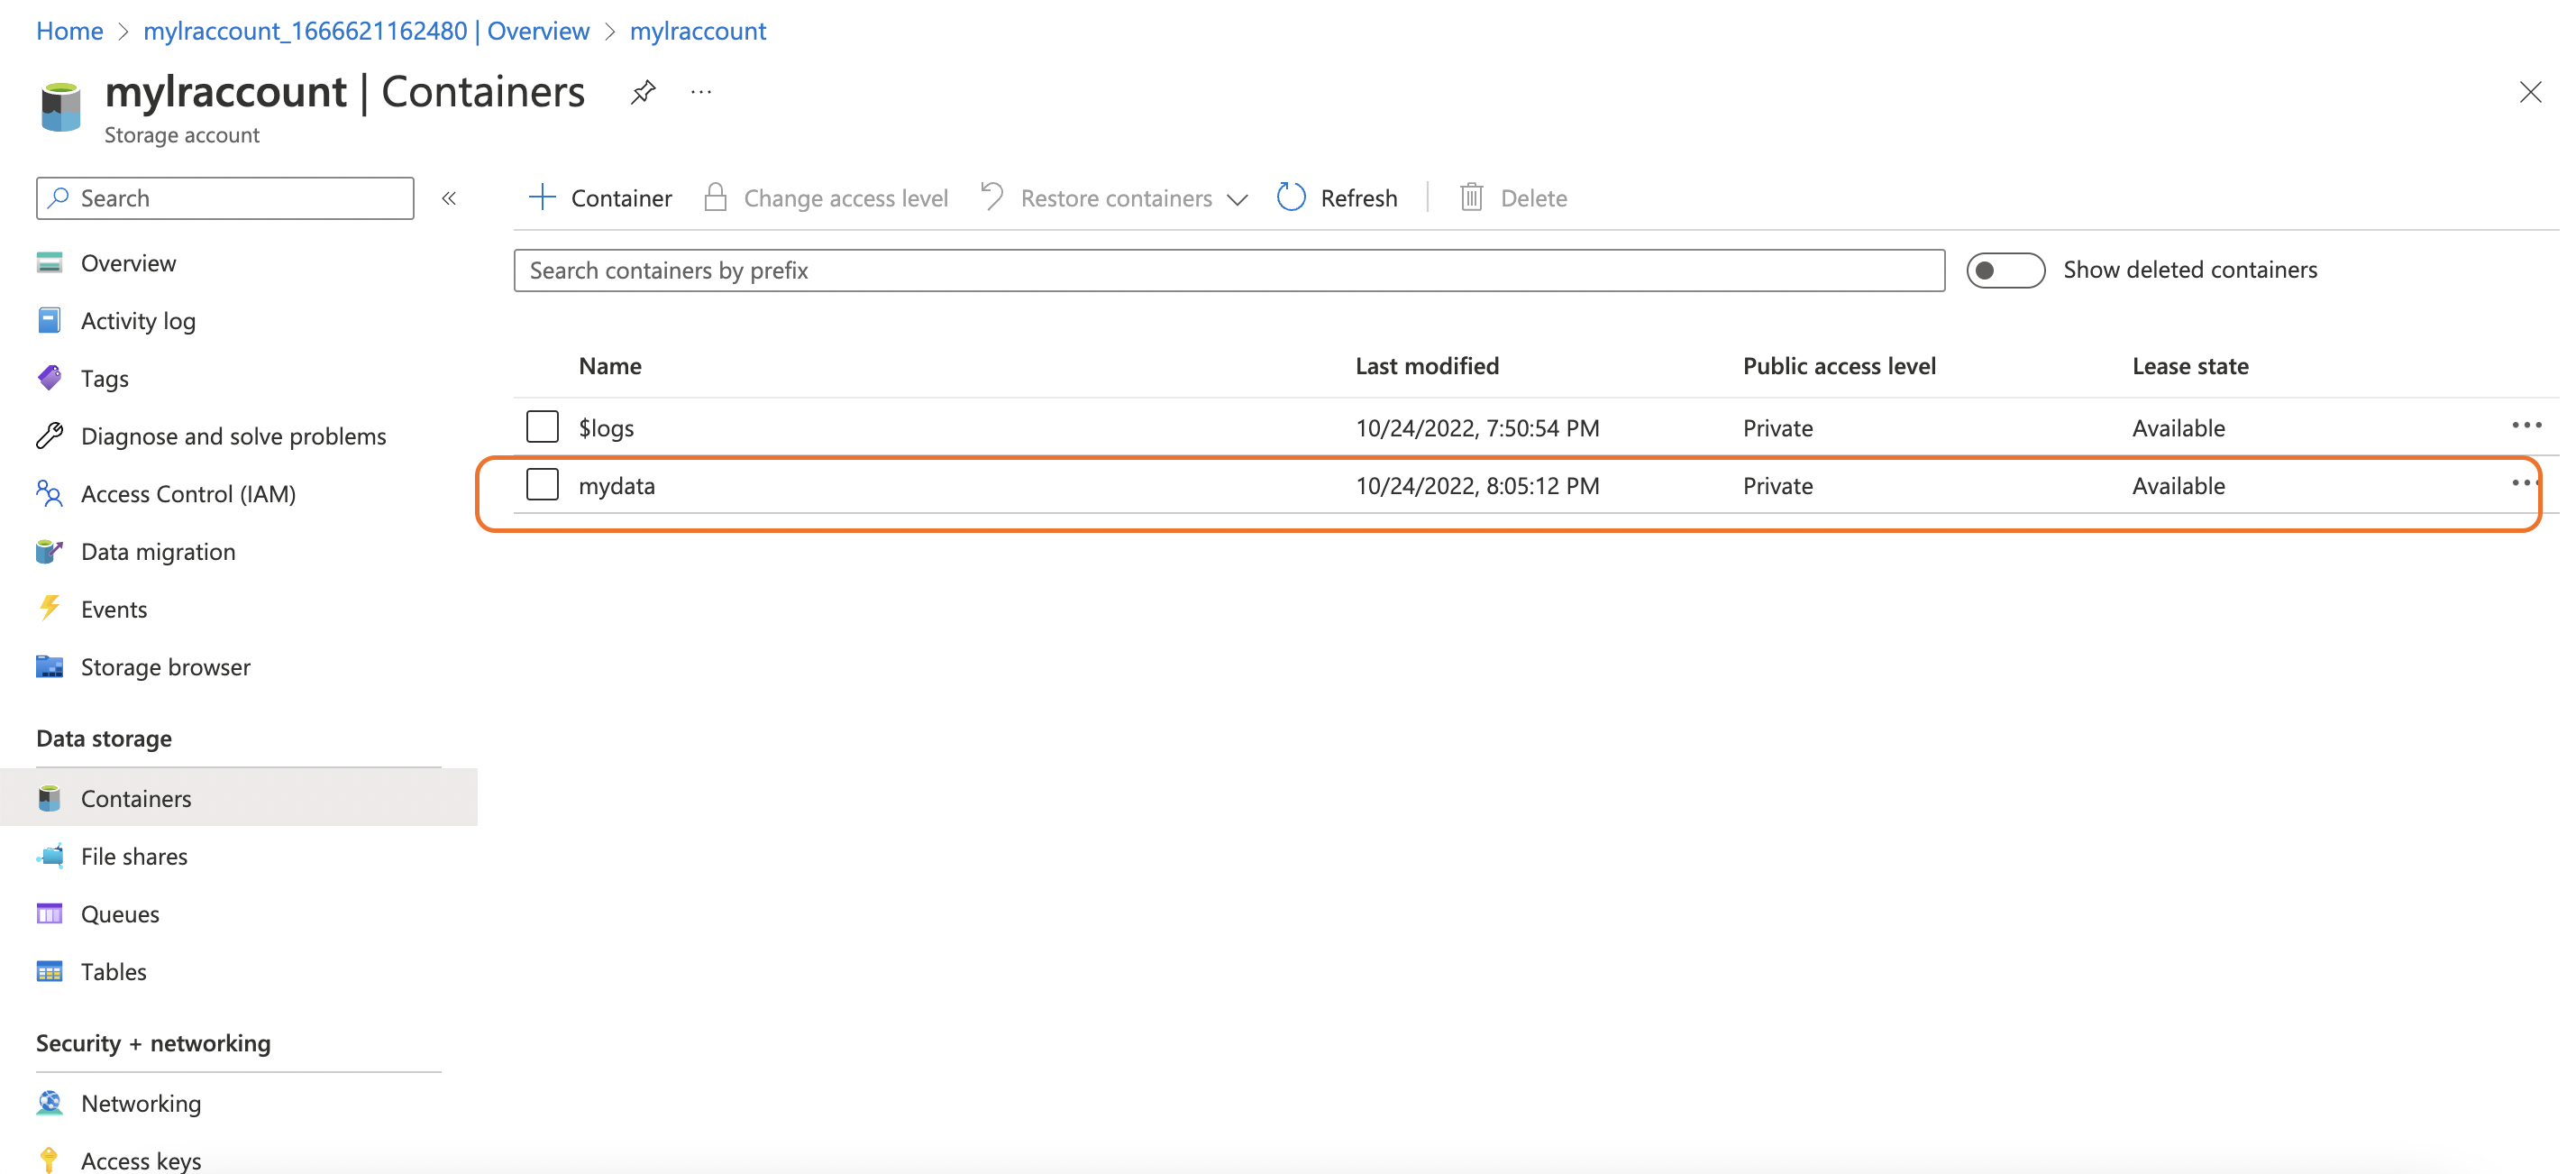
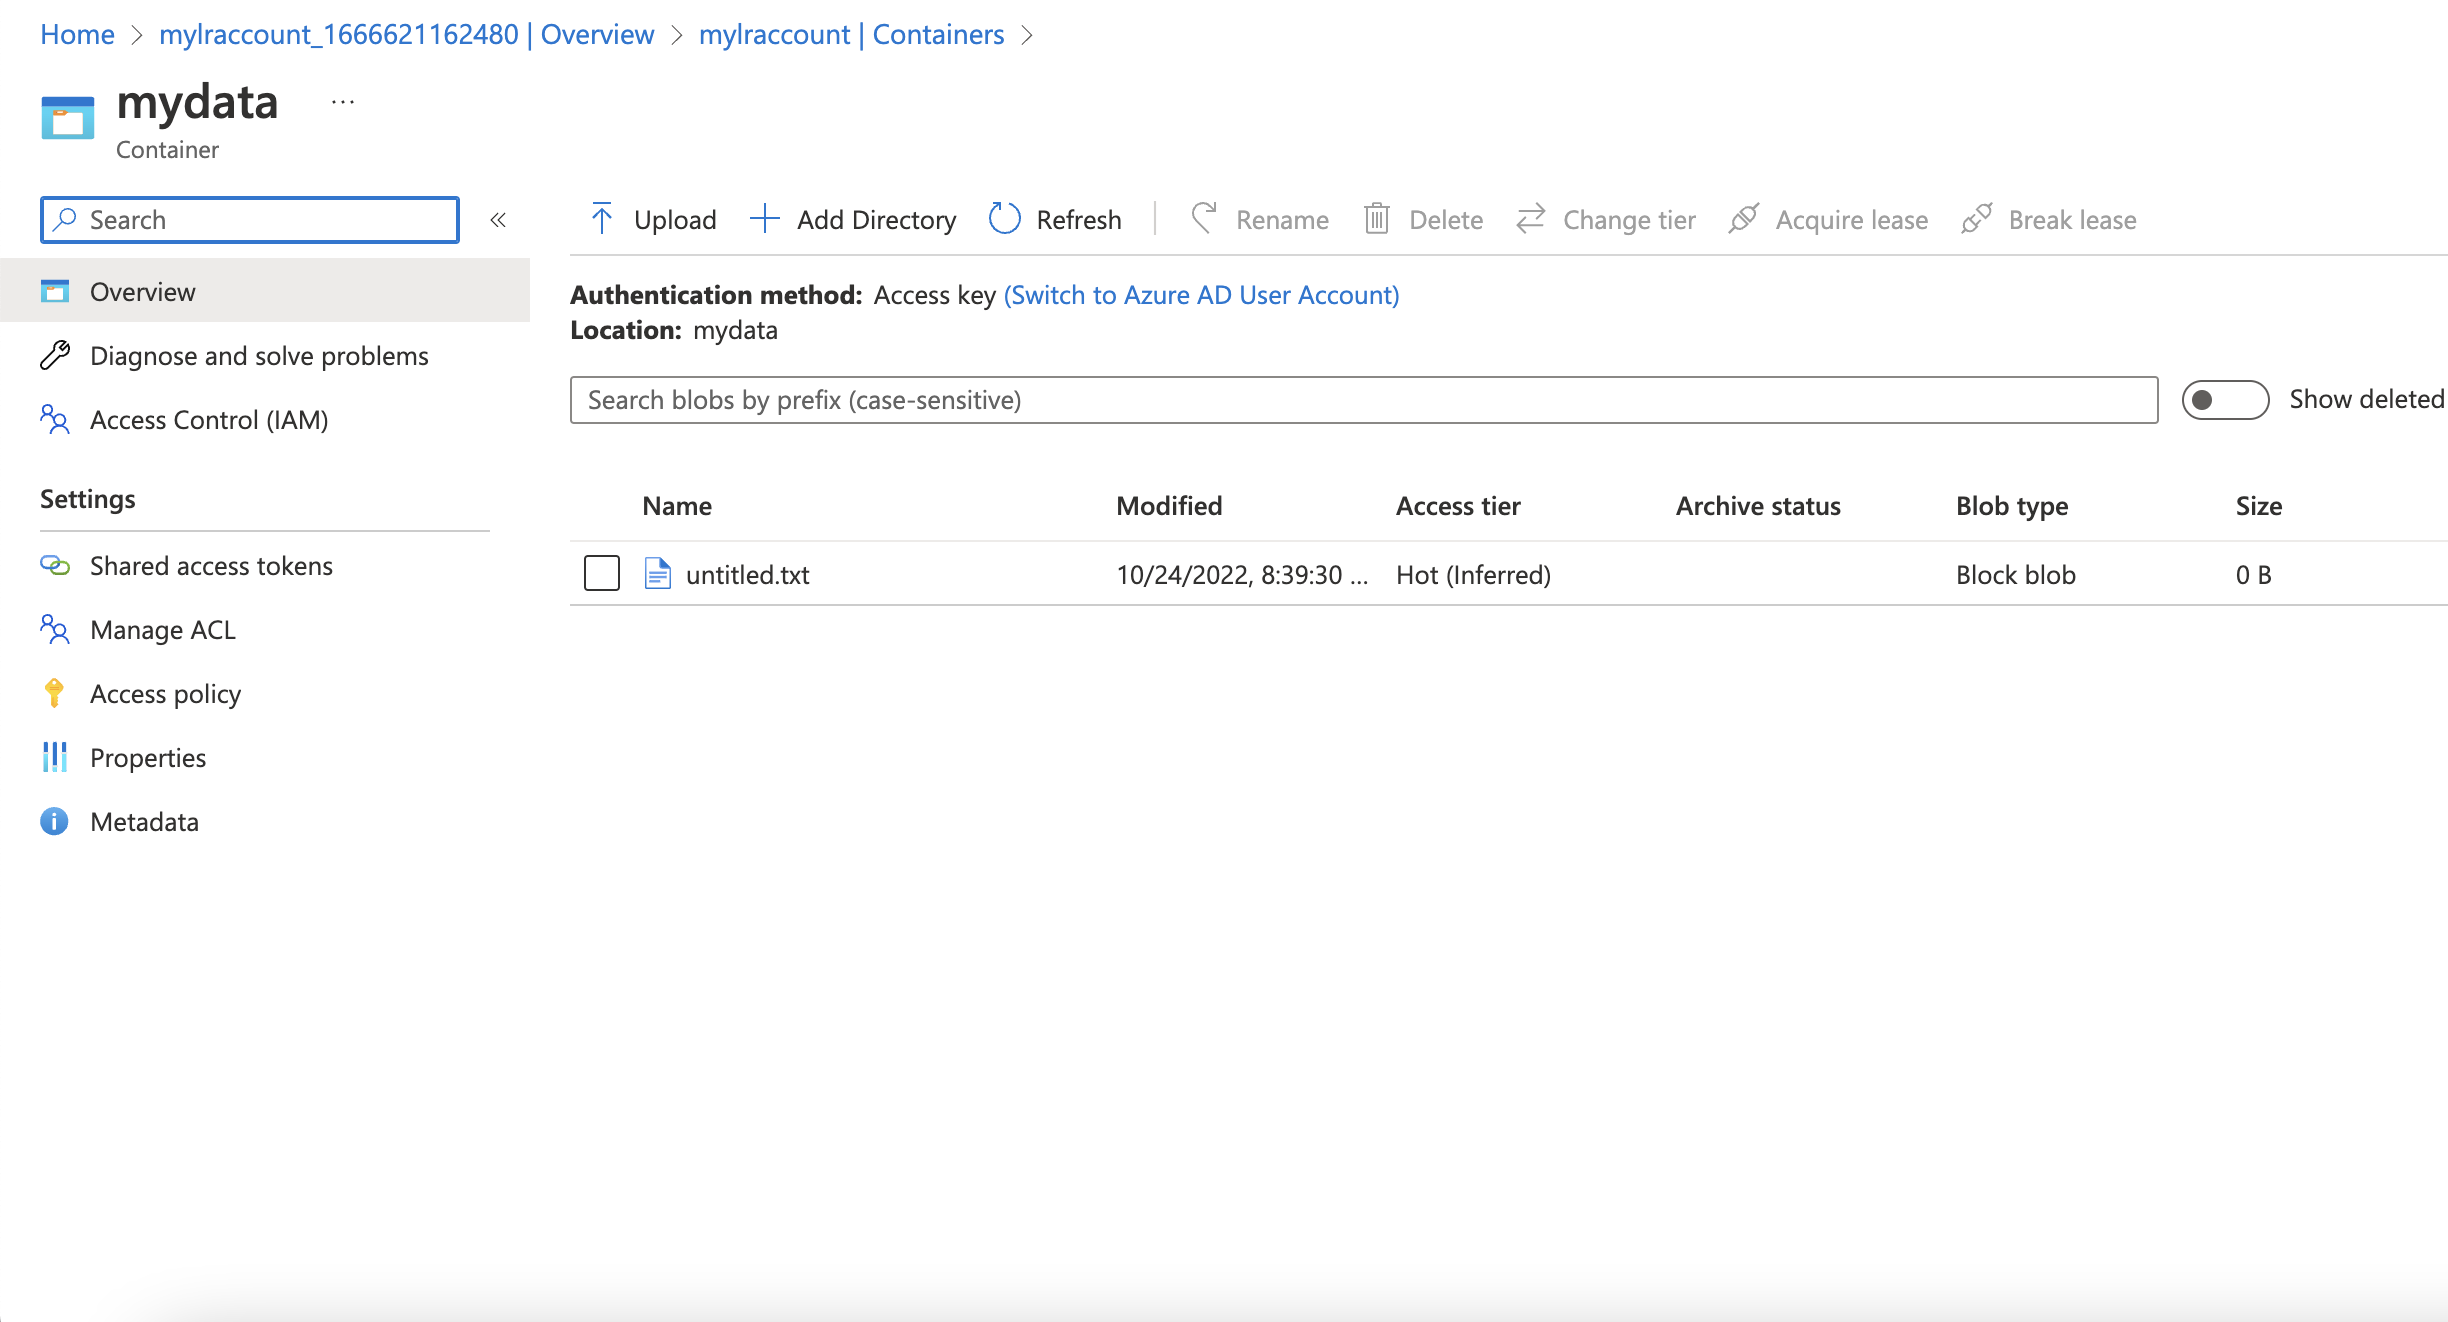
You can see that uploaded “untitled.txt” in our mydata container.
So this how we can configure Azure blob storage as sftp server.