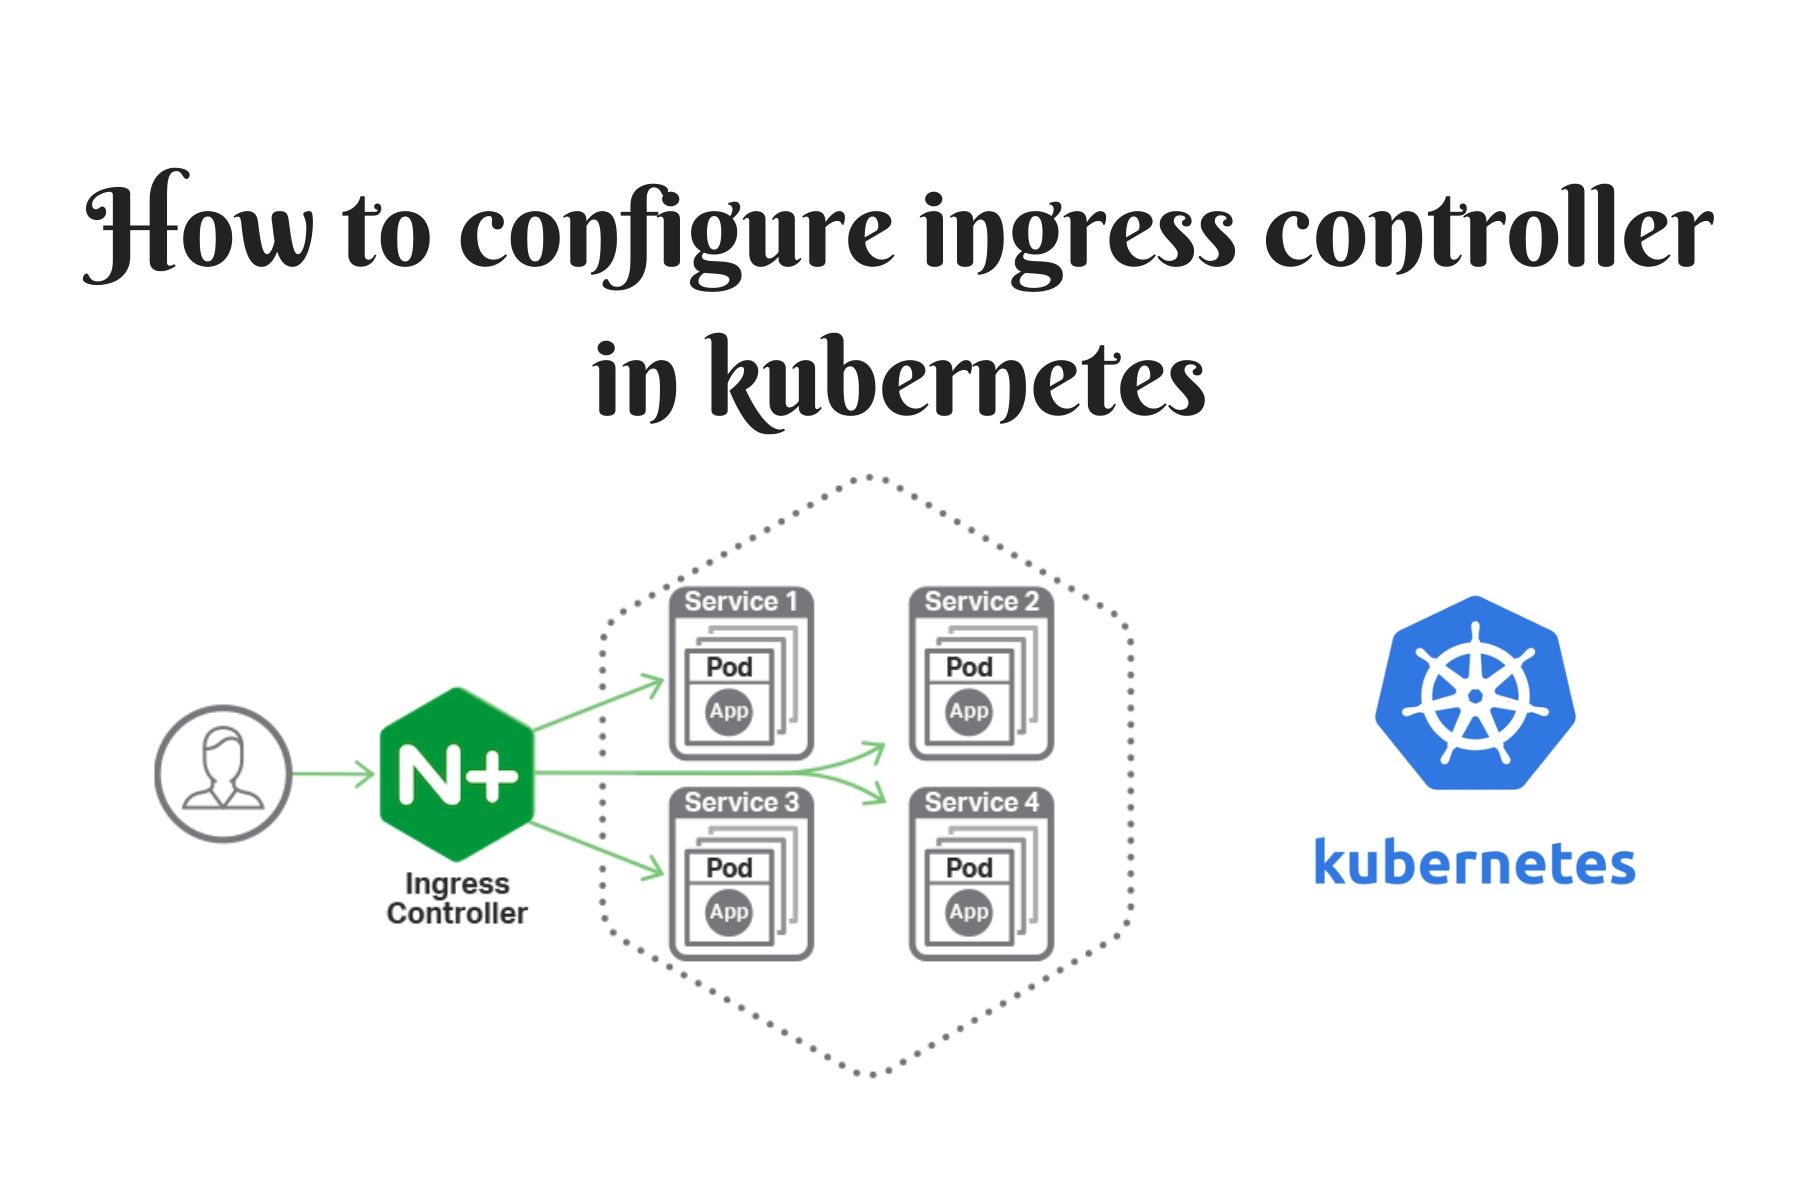
In this article we are going to learn how to configure ingress controller in kubernetes so that we could run multi domain or subdomain application within same kubernetes cluster.
In this demo we are going to run application with domain “nginx.example.com” and other two subdomain called
tea.myshop.com and coffee.myshop.com in kubernetes using Nginx ingress controller. Please note that, these domains and subdomains are local domains.
To show case this demo about “How to configure ingress controller in kubernetes” I am using lxc containers install on Ubuntu(Bare-metal installation). Basically I have four containers/vms running on the lxc host as below:
root@vbhost:~# lxc list
+-----------+---------+------------------------+-----------------------------------------------+------------+-----------+
|   NAME    |  STATE  |          IPV4          |                     IPV6                      |    TYPE    | SNAPSHOTS |
+-----------+---------+------------------------+-----------------------------------------------+------------+-----------+
| haproxy   | RUNNING | 10.253.121.146 (eth0)  | fd42:38af:bc0d:704d:216:3eff:fefa:cb4c (eth0) | PERSISTENT | 0         |
+-----------+---------+------------------------+-----------------------------------------------+------------+-----------+
| kmaster   | RUNNING | 172.17.0.1 (docker0)   | fd42:38af:bc0d:704d:216:3eff:fe31:7a49 (eth0) | PERSISTENT | 0         |
|           |         | 10.253.121.39 (eth0)   |                                               |            |           |
|           |         | 10.244.0.0 (flannel.1) |                                               |            |           |
+-----------+---------+------------------------+-----------------------------------------------+------------+-----------+
| kworker01 | RUNNING | 172.17.0.1 (docker0)   | fd42:38af:bc0d:704d:216:3eff:fed4:8226 (eth0) | PERSISTENT | 0         |
|           |         | 10.253.121.32 (eth0)   |                                               |            |           |
|           |         | 10.244.1.1 (cni0)      |                                               |            |           |
|           |         | 10.244.1.0 (flannel.1) |                                               |            |           |
+-----------+---------+------------------------+-----------------------------------------------+------------+-----------+
| kworker02 | RUNNING | 172.17.0.1 (docker0)   | fd42:38af:bc0d:704d:216:3eff:fe9f:82c0 (eth0) | PERSISTENT | 0         |
|           |         | 10.253.121.89 (eth0)   |                                               |            |           |
|           |         | 10.244.2.1 (cni0)      |                                               |            |           |
|           |         | 10.244.2.0 (flannel.1) |                                               |            |           |
+-----------+---------+------------------------+-----------------------------------------------+------------+-----------+
- So all these containers are running centos. Three of them are being used for kubernetes cluster. One will be using for haproxy which we will be utilizing as a loadbalancer to load balance the request to one of the two kubernetes worker node.
To learn more about lxc containers follow this link.
Steps:
-
Deploy kubernetes cluster:
Once you deployed three lxc containers configure one of them as kubernetes master and other two as kubernetes worker node. To cut short the configuration journey you can follow this link.
-
Deploy ha-proxy container with centos operating system:
We will be deploying one more lxc container with centos and will be configuring haproxy as per below steps:
- login to lxc container
root@vbhost:~# lxc exec haproxy bash
[root@haproxy ~]#
Now install the haproxy package in the container
# yum install haproxy
Once you have installed haproxy we need change the configuration so that it will load balance the traffic between the kubernetes worker node. Open the /etc/haproxy/haproxy.cfg file and replace it with below contents:
[root@haproxy ~]# cat /etc/haproxy/haproxy.cfg
#---------------------------------------------------------------------
# Example configuration for a possible web application.  See the
# full configuration options online.
#
#   http://haproxy.1wt.eu/download/1.4/doc/configuration.txt
#
#---------------------------------------------------------------------

#---------------------------------------------------------------------
# Global settings
#---------------------------------------------------------------------
global
    # to have these messages end up in /var/log/haproxy.log you will
    # need to:
    #
    # 1) configure syslog to accept network log events.  This is done
    #    by adding the '-r' option to the SYSLOGD_OPTIONS in
    #    /etc/sysconfig/syslog
    #
    # 2) configure local2 events to go to the /var/log/haproxy.log
    #   file. A line like the following can be added to
    #   /etc/sysconfig/syslog
    #
    #    local2.*                       /var/log/haproxy.log
    #
    log         127.0.0.1 local2

    chroot      /var/lib/haproxy
    pidfile     /var/run/haproxy.pid
    maxconn     4000
    user        haproxy
    group       haproxy
    daemon

    # turn on stats unix socket
    stats socket /var/lib/haproxy/stats

#---------------------------------------------------------------------
# common defaults that all the 'listen' and 'backend' sections will
# use if not designated in their block
#---------------------------------------------------------------------
defaults
    mode                    http
    log                     global
    option                  httplog
    option                  dontlognull
    option http-server-close
    option forwardfor       except 127.0.0.0/8
    option                  redispatch
    retries                 3
    timeout http-request    10s
    timeout queue           1m
    timeout connect         10s
    timeout client          1m
    timeout server          1m
    timeout http-keep-alive 10s
    timeout check           10s
    maxconn                 3000

frontend http_front
  bind *:80
  stats uri /haproxy?stats
  default_backend http_back

backend http_back
  balance roundrobin
  server kube 10.253.121.32:80
  server kube 10.253.121.89:80
[root@haproxy ~]#
Make sure you change the bottom two ip address with ip address of the kubernetes worker nodes so that it could be load balanced. Here are the ip adress of my worker node which we have entered in the above haproxy configuration file. Also we are using http port 80 for our configuration.
# kubectl get nodes -o wide
NAME        STATUS   ROLES    AGE   VERSION   INTERNAL-IP     EXTERNAL-IP   OS-IMAGE                KERNEL-VERSION       CONTAINER-RUNTIME
kmaster     Ready    master   31d   v1.17.1   10.253.121.39   <none>        CentOS Linux 7 (Core)   4.15.0-106-generic   docker://19.3.5
kworker01   Ready    <none>   31d   v1.17.1   10.253.121.32   <none>        CentOS Linux 7 (Core)   4.15.0-106-generic   docker://19.3.5
kworker02   Ready    <none>   31d   v1.17.1   10.253.121.89   <none>        CentOS Linux 7 (Core)   4.15.0-106-generic   docker://19.3.5
#
Now restart and enable the haproxy service.
# systemctl enable haproxy
# systemctl restart haproxy
We are done with haproxy configuration. Now logout from it.
-
Install the Nginx-controller on kubernetes master node:
Clone the git repo and change directory to “kubernetes-ingress/deployments/”
# git clone https://github.com/nginxinc/kubernetes-ingress.git
# cd kubernetes-ingress/deployments/
Create the namespace and service account.
# kubectl apply -f common/ns-and-sa.yaml
Apply the role and cluster role binding
# kubectl apply -f rbac/rbac.yaml
Make the secret
# kubectl apply -f common/default-server-secret.yaml
apply the configmap required.
# kubectl apply -f common/nginx-config.yaml
Now deploy the Ingress controller as daemon-set
# kubectl apply -f daemon-set/nginx-ingress.yaml
Now if you check the namespace and the resources within “nginx-ingress” namespace you will find similar resources being created.
# kubectl get ns
NAME              STATUS   AGE
cattle-system     Active   29d
default           Active   31d
efk               Active   29d
kube-node-lease   Active   31d
kube-public       Active   31d
kube-system       Active   31d
nginx-ingress     Active   10s
# kubectl get all -n nginx-ingress
NAME                      READY   STATUS              RESTARTS   AGE
pod/nginx-ingress-2rq6s   0/1     ContainerCreating   0          14s
pod/nginx-ingress-65vnd   0/1     ContainerCreating   0          14s

NAME                           DESIRED   CURRENT   READY   UP-TO-DATE   AVAILABLE   NODE SELECTOR   AGE
daemonset.apps/nginx-ingress   2         2         0       2            0           <none>          14s
Once they are ready we are going to deploy services.
- Deploy the Nginx service with NodePort type listening on port 80 which will run sample Nginx web-server with its default index.html file. Here is manifest file I am using for it.
# cat nginx-deploy-main.yaml
apiVersion: apps/v1
kind: Deployment
metadata:
  labels:
    run: nginx
  name: nginx-deploy-main
spec:
  replicas: 1
  selector:
    matchLabels:
      run: nginx-main
  template:
    metadata:
      labels:
        run: nginx-main
    spec:
      containers:
      - image: nginx
        name: nginx


---
apiVersion: v1
kind: Service
metadata:
  name: nginx-deploy-main
spec:
  type: NodePort
  selector:
    run: nginx-main
  ports:
      # By default and for convenience, the `targetPort` is set to the same value as the `port` field.
    - port: 80
Deploy the Nginx service
# kubectl create -f nginx-deploy-main.yaml
deployment.apps/nginx-deploy-main created
service/nginx-deploy-main created
-
Deploy the tea service
Now lets deploy the another service which will be of the type NodePort with port 80. For this service I am using my own created docker image called “manmohanmirkar/mytea_image” which will simply display the message “This is Tea Shop” in the browser. This service will be get called once you try to access url “tea.myshop.com” . Sample manifest file is as below:
# cat tea.yml
apiVersion: apps/v1
kind: Deployment
metadata:
  labels:
    app: tea
  name: tea-deploy
spec:
  replicas: 2
  selector:
    matchLabels:
      app: tea
  template:
    metadata:
      labels:
        app: tea
    spec:
      containers:
      - name: tea
        image: manmohanmirkar/mytea_image:latest

---
apiVersion: v1
kind: Service
metadata:
  name: tea-deploy
spec:
  type: NodePort
  selector:
    app: tea
  ports:
      # By default and for convenience, the `targetPort` is set to the same value as the `port` field.
    - port: 80
Apply the tea service:
# kubectl create -f tea.yml
deployment.apps/tea-deploy created
service/tea-deploy created
-
Configure the coffee service
Deploy one more service which will be of the type NodePort with port 80. For this service I am using my own created docker image called “manmohanmirkar/mycoffee_image” which will simply display the message “This is Coffee Shop” in the browser. This service will be get called once you try to access url “coffee.myshop.com” . Sample manifest file is as below:
# cat coffe.yml
apiVersion: apps/v1
kind: Deployment
metadata:
  labels:
    app: coffee
  name: coffee-deploy
spec:
  replicas: 2
  selector:
    matchLabels:
      app: coffee
  template:
    metadata:
      labels:
        app: coffee
    spec:
      containers:
      - name: coffee
        image: manmohanmirkar/mycoffee_image:latest
---
apiVersion: v1
kind: Service
metadata:
  name: coffee-deploy
spec:
  type: NodePort
  selector:
    app: coffee
  ports:
      # By default and for convenience, the `targetPort` is set to the same value as the `port` field.
    - port: 80
Now lets apply the coffee service and deployment.
# kubectl create -f coffe.yml
deployment.apps/coffee-deploy created
service/coffee-deploy created
-
Deploy the Ingress resource
This is the main configuration in this article which will configure the Ingress resource. This Ingress resource will be performing the task of routing the request to respective service based on the URL. Let have look at the manifest file for the same:
# cat cafe-ingress.yml
apiVersion: networking.k8s.io/v1beta1
kind: Ingress
metadata:
  name: my-ingress-resource
spec:
  rules:
  - host: nginx.example.com
    http:
      paths:
      - backend:
          serviceName: nginx-deploy-main
          servicePort: 80
  - host: tea.myshop.com
    http:
      paths:
      - backend:
          serviceName: tea-deploy
          servicePort: 80
  - host: coffee.myshop.com
    http:
      paths:
      - backend:
          serviceName: coffee-deploy
          servicePort: 80
Basically in the above file will deploy the resource type Ingress. It has got three host based rules configured for each service. So if the host url is “nginx.example.com” then it has backend with service Name “nginx-deploy-main”. Basically it means that whenever the request with URL “nginx.example.com” made it will be get forwarded to the service “nginx-deploy-main”.
In the similar way we have two more hosts “tea.myshop.com” and “coffee.myshop.com” with backed configured as “tea-deploy” and “coffee-deploy”. This also means that whenever the request made with URL “tea.myshop.com” to the haproxy serrver it will forwarded to the service “tea-deploy”. Also in the similar way if the request with URL “coffee.myshop.com” it will be automatically get forwarded to the service “coffee-deploy” which we have already deployed.
Now lets deploy the ingress resource:
# kubectl create -f cafe-ingress.yml
ingress.networking.k8s.io/my-ingress-resource created
Crosscheck the ingress resource with following commands:
# kubectl describe ing
Name:             my-ingress-resource
Namespace:        default
Address:
Default backend:  default-http-backend:80 (<error: endpoints "default-http-backend" not found>)
Rules:
  Host               Path  Backends
  ----               ----  --------
  nginx.example.com
                        nginx-deploy-main:80 (10.244.2.82:80)
  tea.myshop.com
                        tea-deploy:80 (10.244.1.94:80,10.244.2.83:80)
  coffee.myshop.com
                        coffee-deploy:80 (10.244.1.95:80,10.244.2.84:80)
Annotations:         <none>
Events:
  Type    Reason          Age   From                      Message
  ----    ------          ----  ----                      -------
  Normal  AddedOrUpdated  31s   nginx-ingress-controller  Configuration for default/my-ingress-resource was added or updated
  Normal  AddedOrUpdated  31s   nginx-ingress-controller  Configuration for default/my-ingress-resource was added or updated
You can able to see from the output that, if the host is “nginx.example.com” then service configured is “nginx-deploy-main” and if the host or URL is “tea.myshop.com” then service for the same is “tea-deploy” sample applicable for the coffee service with respective service name.
-
Make the DNS entries
This is the final step in which we are going to configure the DNS entries for all the three URL we have configured in the ingress resource. Basically we are going make the entries on the host machine with all the urls with ip of out haproxy container.
# lxc list haproxy
+---------+---------+-----------------------+-----------------------------------------------+------------+-----------+
|  NAME   |  STATE  |         IPV4          |                     IPV6                      |    TYPE    | SNAPSHOTS |
+---------+---------+-----------------------+-----------------------------------------------+------------+-----------+
| haproxy | RUNNING | 10.253.121.146 (eth0) | fd42:38af:bc0d:704d:216:3eff:fefa:cb4c (eth0) | PERSISTENT | 0         |
+---------+---------+-----------------------+-----------------------------------------------+------------+-----------+
So ip address of haproxy is 10.253.121.146. Simply add below entries /etc/hosts of the host machine:
# cat /etc/hosts
127.0.0.1       localhost
192.168.56.5    vbhost

# The following lines are desirable for IPv6 capable hosts
::1     ip6-localhost ip6-loopback
fe00::0 ip6-localnet
ff00::0 ip6-mcastprefix
ff02::1 ip6-allnodes
ff02::2 ip6-allrouters


10.253.121.146 nginx.example.com
10.253.121.146 coffee.myshop.com
10.253.121.146 tea.myshop.com
Check the last three entries all url are pointing to haproxy which will in turn forward the request to our kubernetes worker node.
-
Testing
Now lets try to access the all URL’s one by one from the host machine.
- nginx.example.com
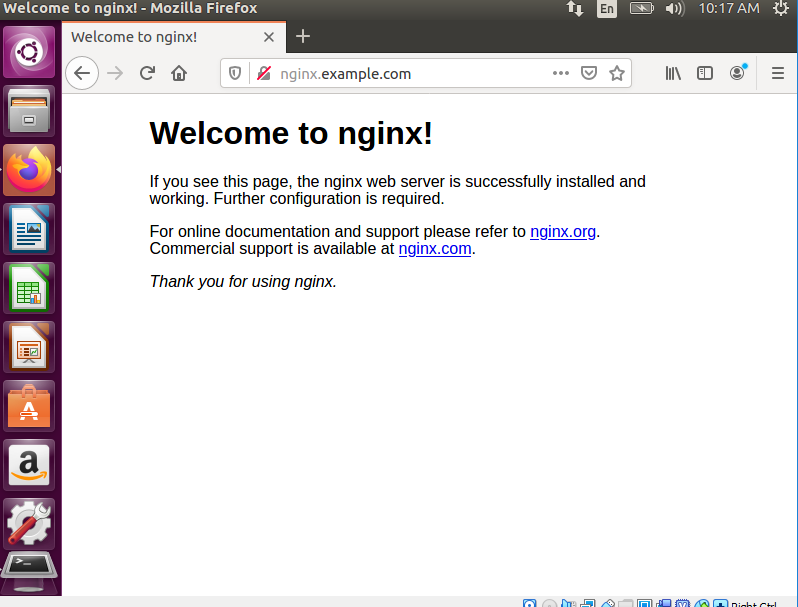
- tea.myshop.com
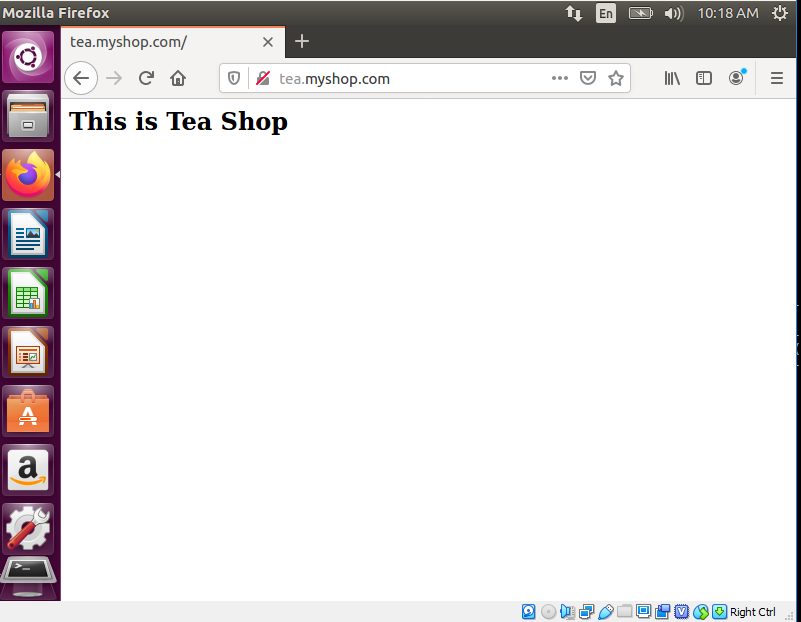
- coffee.myshop.com
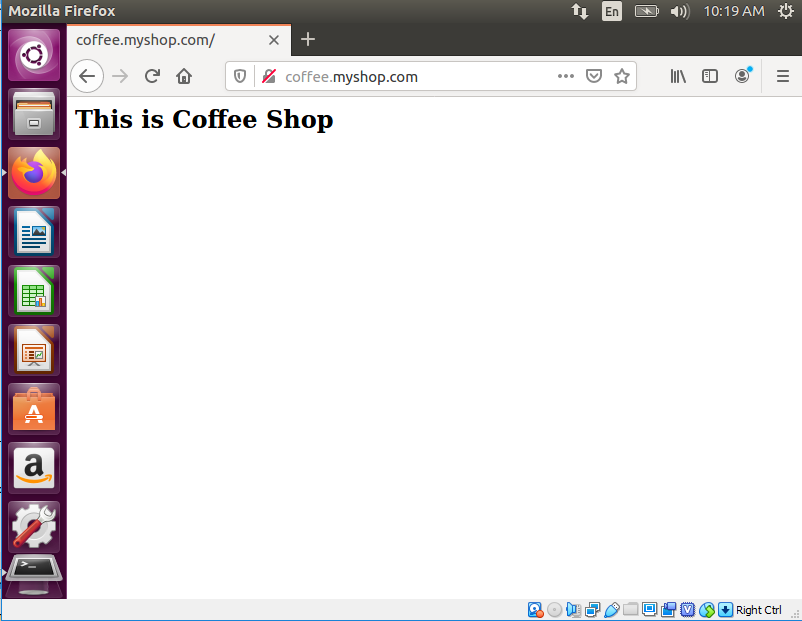
So this all about the topic of How to configure ingress controller in kubernetes.