You are well aware of the fact that while installing linux operating system you need to enter lot of input like ip address, hostname, partition details, root password etc. And its turns bore when you need to perform this operation on number of hosts. Of course there is an option of vmware image for linux installation. But you can also perform automated kickstart linux installation. This article will teach you how to perform automated kickstart linux installation with minimal requirements.
Kindly note: we are not using any DHCP server for ip assignment instead we are using it from vmware. For this demo I have used following things:
- vmware workstation 8
- kickstart file
- Ftp server (we are sharing kickstart file via ftp) for network installation.
So let’s quickly move on to automated kickstart linux installation.
Step 1: FTP Server
We need already running RHEL server with IP “192.168.216.134” inside vmware with FTP enable. For setting up an FTP server you can check this guide.
Step 2: Kickstart file
Whenever you install any RHEL server by default “/root/anaconda-ks.cfg” gets generated:
[root@rhel1 ~]# ll /root/anaconda-ks.cfg
-rw-------. 1 root root 1394 Dec 5 19:15 /root/anaconda-ks.cfg
[root@rhel1 ~]#
You need to modify this according your requirement. However I have perfectly working kickstart file. You can use the same for your automated kickstart linux installation. So create one file “/var/ftp/pub/anaconda-ks.cfg” and copy below contents in it.
# Kickstart file automatically generated by anaconda.

#version=DEVEL
install
cdrom
lang en_US.UTF-8
keyboard us
#Network card Definition with hostname and all
network --onboot yes --device eth0 --bootproto dhcp --noipv6 --hostname localhost.localdomain

# grab the hash from an account in /etc/shadow that has the password you want to use this is hash of password "root123"
rootpw --iscrypted $6$.Z9thd3gOdXvddLD$66rjO2syNkQ/8qRo3wjZI/9pg2W9U4PWXYzVr/3yra47k1TZfK2/ufwsWnXu.FA4I8pVj9RrlAjQk3lQld/ZQ/

firewall --service=ssh
authconfig --enableshadow --passalgo=sha512
selinux --enforcing
timezone --utc Asia/Kolkata
bootloader --location=mbr --driveorder=sda --append=" rhgb crashkernel=auto quiet crashkernel=auto quiet rhgb"
# The following is the partition information you requested
# Note that any partitions you deleted are not expressed
# here so unless you clear all partitions first, this is
# not guaranteed to work
clearpart --linux --drives=sda --all --initlabel
ignoredisk --only-use=sda
#part pv.008002 --grow --size=1
###
part /boot --fstype=ext4 --size=500
part /home --fstype=ext4 --size=10240
part swap --size=1024
part / --fstype=ext4 --grow --size=200

repo --name="Red Hat Enterprise Linux" --baseurl=file:///mnt/source --cost=100

%packages
@Base
@Core
@base
@client-mgmt-tools
@console-internet
@core
@debugging
@directory-client
@hardware-monitoring
@java-platform
@large-systems
@network-file-system-client
@performance
@perl-runtime
@server-platform
@server-policy
certmonger
krb5-workstation
oddjob
pam_krb5
pax
perl-DBD-SQLite
python-dmidecode
sgpio

%end
You can refer to small explanation above some of the parameter for more information. In the above file hash for the root password is “root123”. You need to use the same after successful installation for root login. You can change it to whatever you prefer by simply copying hash value from /etc/shadow.
You can verify above file against any error using below command. Blank output mean everything is Ok.
[root@rhel1 ~]# ksvalidator /var/ftp/pub/anaconda-ks.cfg
[root@rhel1 ~]#
If you do not have ksvalidator installed , then use below command for installation.
[root@rhel1 ~]# yum install pykickstart
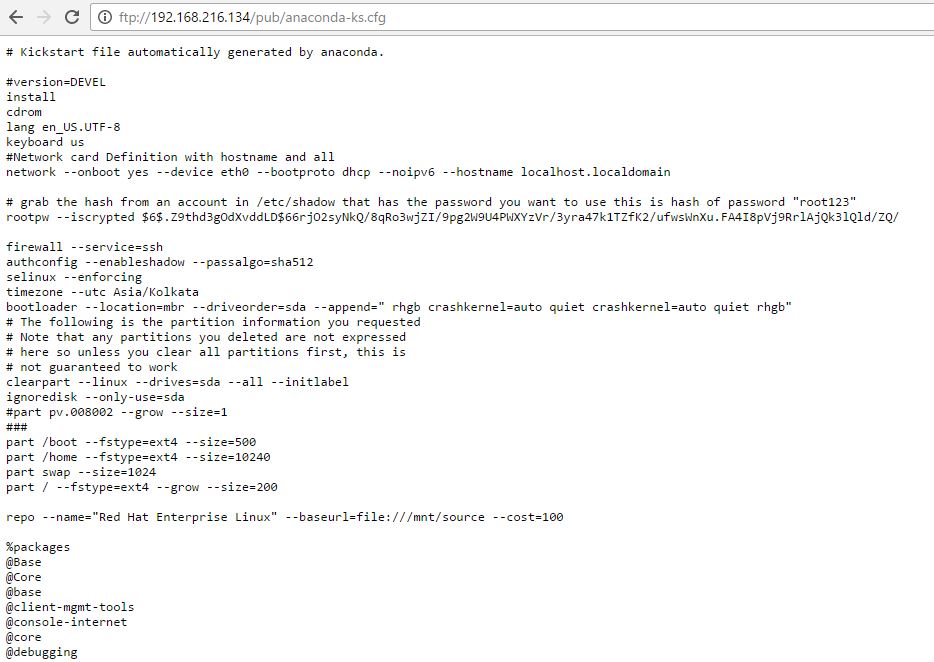
Step 3: FTP check for /var/ftp/pub/anaconda-ks.cfg.
Now try to access below link “ftp://192.168.216.134/pub/anaconda-ks.cfg” from browser to make sure that its available over a network for installation. Please note that 192.168.216.134 is the ip address of FTP server. You should get below output in the browser.
That’s it you are done with server configuration.
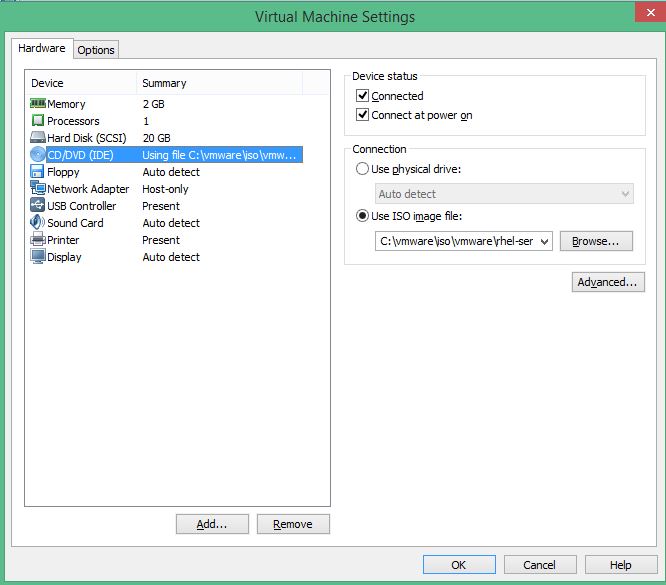
Step 4: Guest vm creation in vmware workstation.
Now just create one sample vm having RHEL 6 iso attached as CD-Rom with below configuration in vmware workstation.
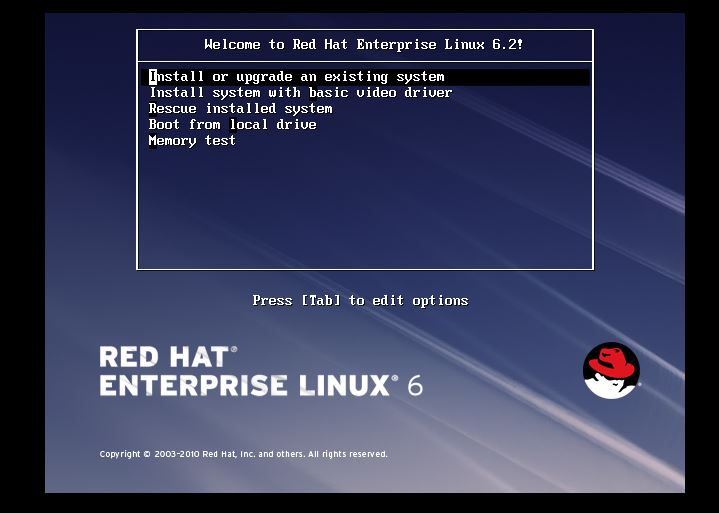
Step 6: Boot the VM.
Turn on the vm. Once below installation screen appears halt the process using up or down arrow key.
Now Select the cursor at first option ie. “Install or Upgrade an existing system” and press Tab so that we can edit the option. Give below command at the prompt appeared.
vmlinuz initrd=initrd.img ks=ftp://192.168.216.134/pub/anaconda-ks.cfg
and hit Enter.
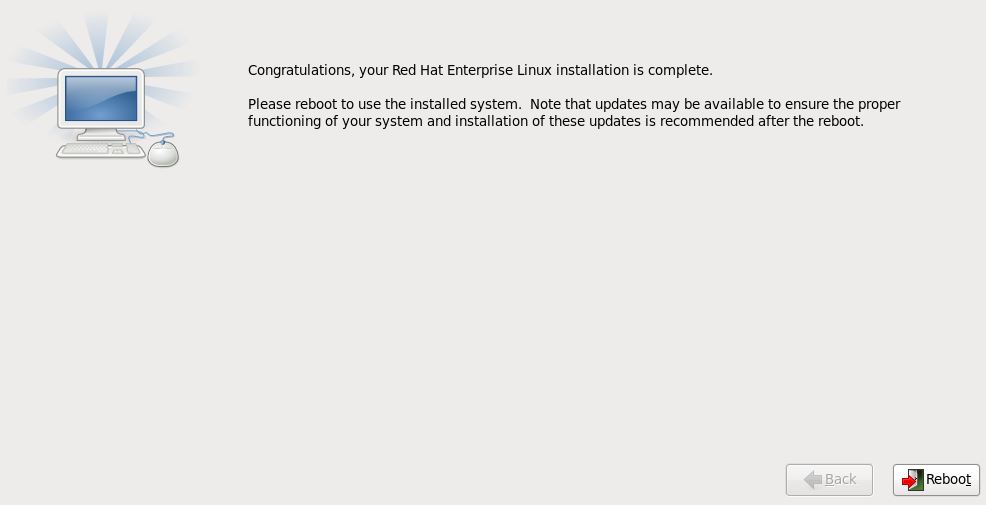
That’s All Now on wards you don’t need to do anything except the reboot message at the last step for reboot. Just grab a coffee and enjoy the automated kickstart linux installation. Below congratulations message appears after successful automated kickstart linux installation asking for reboot.